
Verified against Hades 2 Early Access build, May 2026. Values may change with future patches.
That glowing eye on the floor between you and the next chamber is one of the best mechanics in Hades 2 — and one of the most misplayed. Most players either refuse every Chaos gate out of curse fear, or accept everything blindly and wonder why they’re fighting the Field of Shades at half HP with their attacks costing life per swing.
The reality is more precise. Chaos gates run on a simple contract: absorb X encounters of a penalty, then gain a permanent blessing for the rest of the run. The value of that contract depends entirely on which curse you drew, how far you are from a boss, and whether the blessing matches your build. Getting that calculation right is the difference between a run-ending mistake and a free +119% special damage multiplier.
This guide gives you the curse tier list, the exact blessings worth building around, and the decision framework to make the right call every time you see that eye on the floor. For a broader run overview, see our Hades 2 complete guide.
Quick Start: 5 Things to Do at Every Chaos Gate
- Check your HP before entering. The game blocks entry if you lack sufficient health — and the HP cost scales upward as your run progresses. You cannot spend a Death Defiance charge to bypass this check.
- Count chambers to the next Guardian. If you are three rooms or fewer from a boss fight, skip the gate. Curses last 2–5 encounters and will not clear before the boss if you are too close.
- Identify the curse tier. Tier 1 curses (3 encounters or fewer, zero combat danger) — take them with any decent blessing. Tier 3 curses (Excruciating, Paralyzing, Gagged) — only accept if the blessing is run-defining.
- Farm the reagents inside before speaking with Chaos. Use your Silver Spade on Thalamus and your Crescent Pick on Plasma. These resources do not disappear when you accept the boon — but collecting them is separate from the boon itself.
- Speak with Chaos last. Receiving the boon is the exit condition. Get your resources first.
How Chaos Gates Work
Chaos gates become available after defeating Headmistress Hecate for the first time. They appear as floor portals in clearable rooms — entering costs health, and the game prevents entry if you lack enough HP even with a Death Defiance charge available.
Inside, three harvestable resources await: Thalamus (requires Silver Spade), Plasma (requires Crescent Pick), and Darkness, which increases in value with repeated visits across multiple runs. Collecting reagents is free; exiting requires speaking with Chaos and receiving a boon.
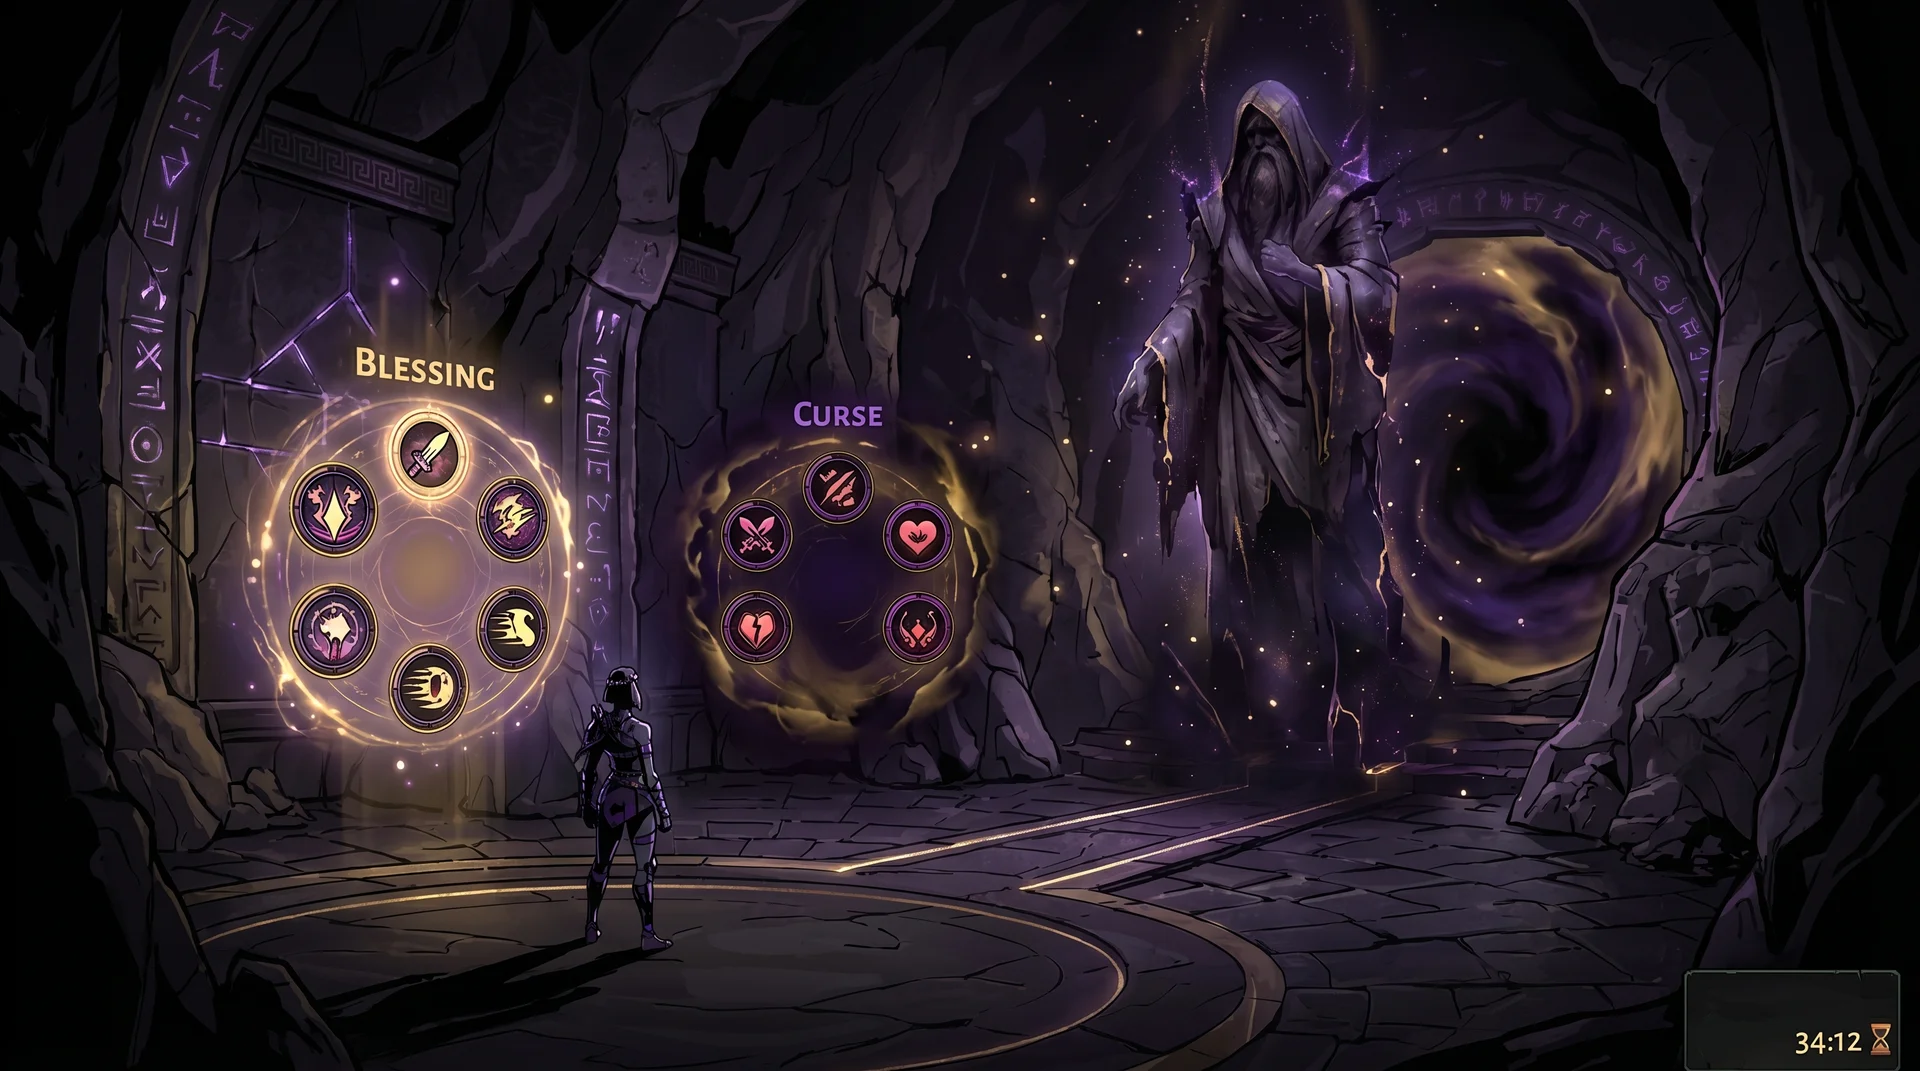
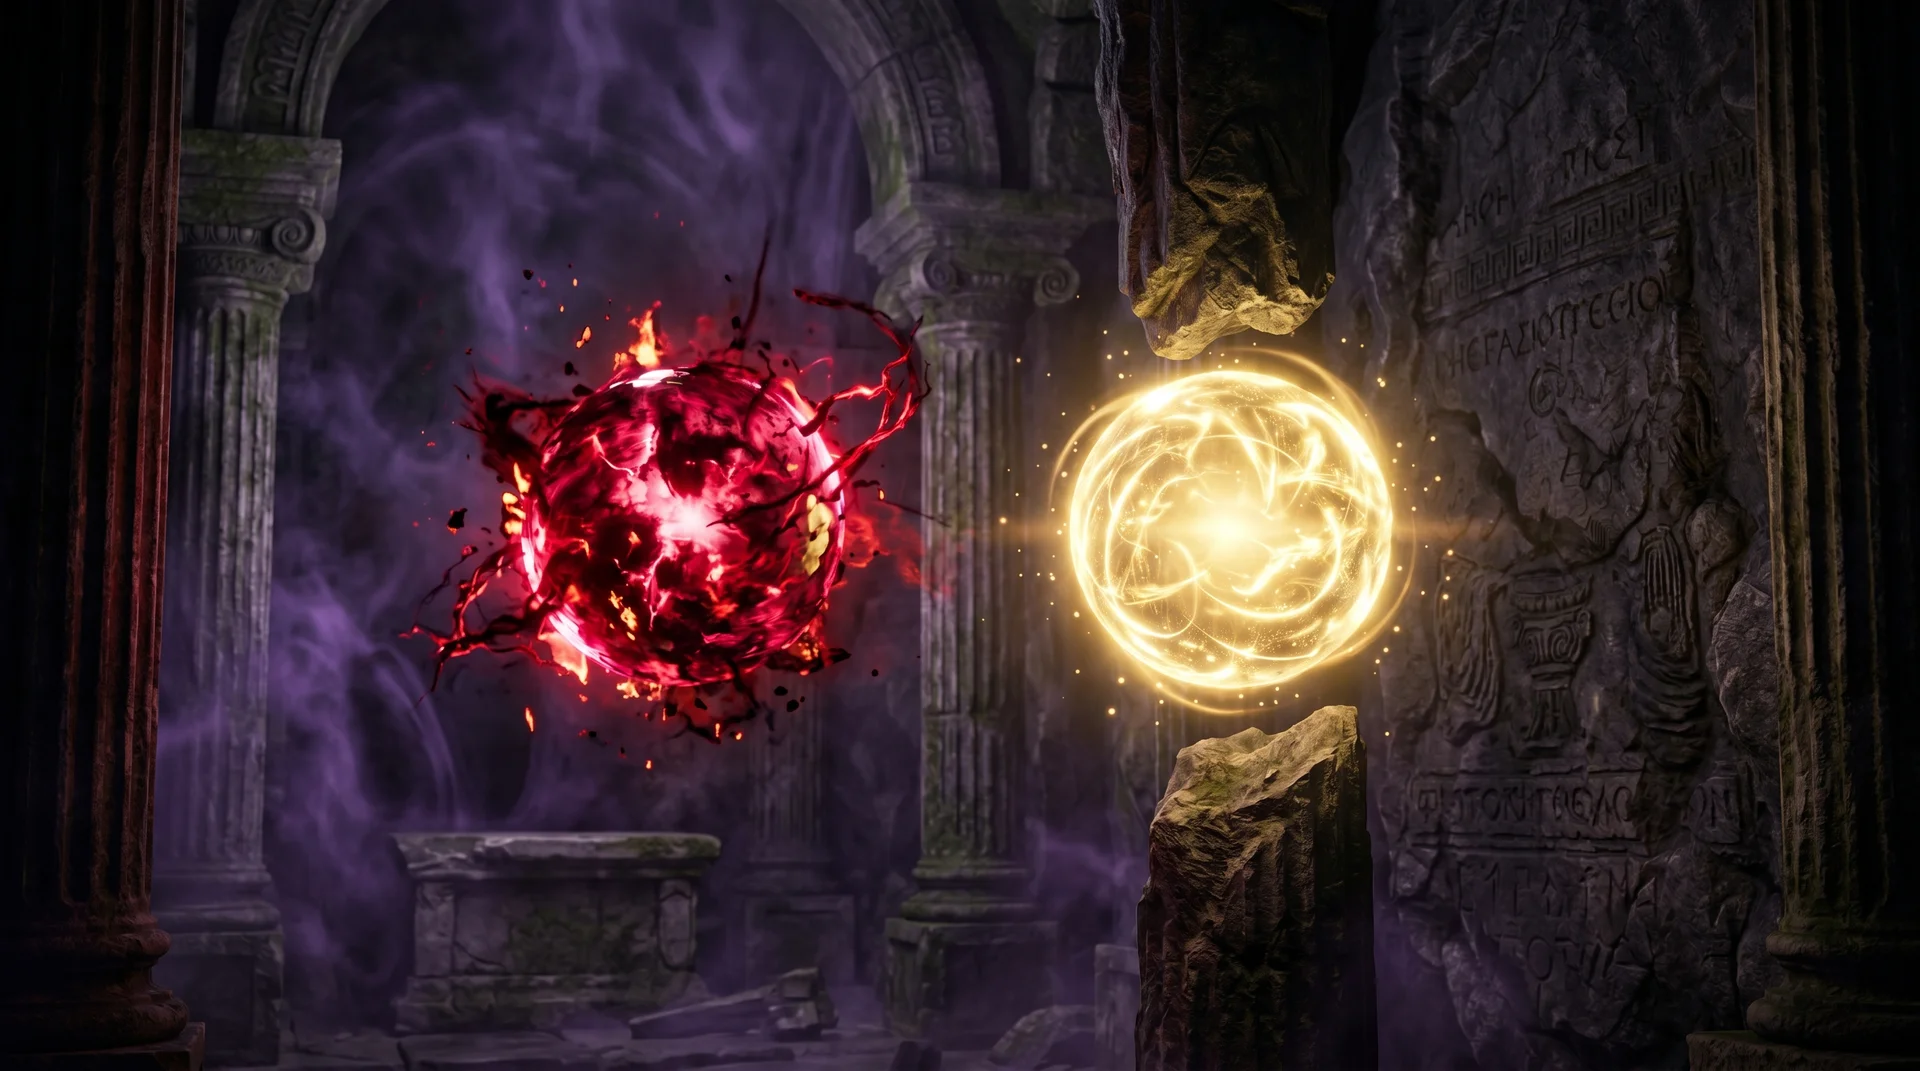
The curse-blessing mechanic: Every Chaos boon is two things bound together. First comes the curse — a debuff active for a set number of encounters, where an encounter means a room where you receive a reward, not every room you pass through. Once that counter reaches zero, the curse lifts permanently and the blessing activates for the rest of the run. You do not need to do anything to trigger the transition; it happens automatically.
Curse durations run from 2 to 5 encounters. That gap matters enormously. A 2-encounter Doomed curse clears before you reach a mid-region Elite room. A 5-encounter Fixated curse could overlap with a Guardian fight if you misjudge your position in the region.
Spawn rules and access: Chaos gates appear in Erebus at roughly 10% per eligible room and Oceanus at around 12%. The Fields of Mourning and Tartarus have no natural spawn rate — gates only appear in those regions if you have purchased the Spark of Ixion from a Well of Charon, which also removes the health entry cost entirely. A minimum of 13 chambers must separate any two Chaos gates in a single run.
Curse Tier List: Which Downsides Are Worth It
These tiers rank curse types by how much they disrupt active combat — not by rarity or blessing quality. Any curse can appear with any blessing, so the practical question is always: if I draw this curse paired with a great blessing, do I take it?
Tier 1 — Take With Any Decent Blessing
| Curse | Duration | Why It’s Manageable |
|---|---|---|
| Maimed (attacks cost HP) | 3 encounters | Use specials instead for three rooms. Melee builds feel it slightly; everyone else barely notices. |
| Flayed (specials cost HP) | 3 encounters | If your build leans on attacks over specials, you will use the debuffed action less than twice per room anyway. |
| Doomed (room timer activates) | 2 encounters | The shortest duration in the game. Timed rooms with standard enemy counts are very rarely failed — you are already pushing forward aggressively. |
| Pauper’s (no gold drops) | 3–4 encounters | Zero combat impact. You lose a few rooms’ worth of gold. That is the entire downside. |
| Rejected (fewer boon options in next rewards) | Variable | Annoying for build planning. Won’t get you killed. |
Accept Tier 1 curses whenever the blessing is Flourish, Will, Defiance, Blood, or Strike. Accept them even with secondary blessings if you are in Erebus or early Oceanus.
Tier 2 — Take Early in a Region, Think Twice Later
| Curse | Duration | Strategic Note |
|---|---|---|
| Addled (casting costs HP) | 5 encounters | Fine for attack builds. Painful for cast-heavy builds that cast every other action. |
| Hobbled (slower dash) | 3–5 encounters | Manageable in open rooms. Risky against Guardians with wide-tracking AoE patterns. |
| Atrophic (reduced max HP) | 4 encounters | Dangerous if your current HP pool is already under 80. Safe if you entered the region at full health. |
| Fixated (Magick drain per ability use) | 5 encounters | Omega-heavy builds suffer the most — your resource loop breaks for five full rooms. Attack builds handle this fine. |
| Ordinary (limits boon rarity in next offer) | Variable | Hurts most when you need Rare+ boons to complete a synergy chain. |
| Enshrouded (hides reward icons) | Variable | Annoying. Rarely fatal. You still collect rewards normally. |
Take Tier 2 curses in Erebus or early Oceanus when you have at least four rooms before the next Guardian. Decline them if you are already past the midpoint of a region or if the curse conflicts directly with your main damage source.
Tier 3 — Decline Unless the Blessing Is Exceptional
| Curse | Why It’s Dangerous |
|---|---|
| Excruciating (increased damage taken) | Stacks lethal risk in any room with projectile enemies or area attacks. Small HP pools become critical HP pools. |
| Paralyzing (stun chance on being hit) | Breaks your defensive rhythm. A stun in a room with three attackers is a free death combo. |
| Gagged (omega abilities blocked) | If your build runs on omega casts — and most do — this removes your highest-damage option for up to 5 encounters. Crippling against bosses or Elite rooms. |
| Barren (nullifies Arcana effects) | Build-dependent. If your damage relies heavily on active Arcana cards, this removes a core multiplier for multiple rooms. |
| Caustic (enemies drop damaging bombs) | Manageable against single targets. Chaotic in crowded rooms. |
For Tier 3 curses: only accept if the blessing is Defiance (run-saving) or Flourish at Epic rarity (run-breaking). If neither applies, walk past the gate.
The 3 Blessings That Break Runs
Most Chaos blessings provide solid but incremental improvements — Blood heals per chamber exit, Soul adds max HP, Strike boosts attack damage. These are good. The following three are different. They restructure what your run is capable of.
1. Flourish — Special Damage Scaling
Stat: +80% to +119% special damage depending on rarity and curse variant (Atrophic Flourish or Pauper’s Flourish)
Flourish applies a multiplicative modifier to your special weapon attack — the same attack that Olympian boons already scale. An +80% modifier from one Chaos boon is roughly equivalent to having three upgraded Olympian boons targeting the same action. At Epic rarity (+119%), you more than double your special damage from a single source.
The mechanism that makes this work: special attacks in Hades 2 scale multiplicatively with boon investment, and Flourish stacks on top of that existing scaling rather than adding to a flat total. Builds that lean on Poseidon, Aphrodite, or Hestia specials see the largest returns. Even build-agnostic runs benefit — specials are a universal damage source on every weapon.
Paired curses: Atrophic (4 encounters, Tier 2) or Pauper’s (4 encounters, Tier 1). Accept both whenever Flourish appears.
2. Will — Magick Regeneration
Stat: Approximately +18 Magick per second of passive regeneration (community-verified across multiple runs)
Omega abilities cost 30+ Magick per activation. Without assistance, a full Magick bar depletes in two to three omega casts, forcing you to wait for pickups or Magick restoration. Will eliminates that constraint: 18 Magick per second means a 10-second fight passively restores 180 Magick — enough for five or six omega casts without touching a single pickup.
Will is the safest Chaos blessing to pursue regardless of your current build state. Every weapon in Hades 2 has an omega variant, every omega variant deals superior damage, and Will makes omega attacks effectively free. It does not require a specific build — it simply makes any build better.
Paired curse: Most often Fixated (Magick drain, 5 encounters, Tier 2). The irony: the curse restricts your Magick while the blessing eventually makes it limitless. Accept this pairing in Erebus or Oceanus without hesitation.
3. Defiance — The Extra Life
Stat: One additional Death Defiance charge (revive at 40% HP and Magick)
Defiance is the only Chaos blessing that directly extends how long your run survives. A revive at 40% HP against a regional Guardian turns a loss into a second phase with full resource availability. Against the toughest late-game encounters, a second Defiance is often the margin between a clear and a run reset.
Unlock condition: Defiance only appears in the Chaos boon pool if you already have at least one other Chaos boon in your current run. This is not optional — if you have taken zero Chaos gates, Defiance is not available. Plan ahead: take an earlier gate, even for a modest blessing, to unlock Defiance as a later possibility.
Paired curse: Varies. Because Defiance’s value is existential rather than damage-based, it is worth accepting Tier 2 and borderline Tier 3 curses. The only case for declining: Gagged or Excruciating within two rooms of a boss fight.
When to Take, When to Walk Past
Take the gate if:
- You are in Erebus or Oceanus with four or more rooms before the next Guardian
- The curse is Tier 1 and the blessing is Flourish, Will, or Defiance
- You have the Spark of Ixion equipped (HP entry cost removed)
- You already have one Chaos boon and Defiance is now possible
- The standard room exit offers a boon that does not fit your build
Skip the gate if:
- You are three rooms or fewer from a Guardian fight
- Your current HP is below 50 and the curse duration is 4+ encounters
- The curse is Tier 3 and you are past Oceanus
- The standard exit offers a god boon that completes a key synergy you have been building toward
The boss proximity calculation: Chaos curses do not pause during boss fights. A 5-encounter Fixated curse taken two rooms before Scylla means your omega casts drain Magick during one of the hardest encounters in the game. Count rooms carefully — most regions contain 10–15 rooms between the entrance and the Guardian chamber. If the curse cannot clear before the boss, skip the gate unless the blessing is Defiance.
Who Should Prioritize Chaos Gates?
| Player Type | Priority | Best Blessing to Target | Avoid |
|---|---|---|---|
| New player | Low — learn combat first | Blood (heals per chamber exit, forgiving on any build) | Any gate within sight of a Guardian |
| Casual player | Region 1 only | Will (Magick regen, zero build dependency) | Tier 3 curses, gates in late Oceanus |
| Optimizer | Every Tier 1–2 gate | Flourish or Will; Defiance if second Chaos boon | Tier 3 curses unless blessing is Defiance or Epic Flourish |
| Completionist | Spark of Ixion every run | All blessings — farm Darkness alongside | Nothing — use every available gate |
Arcana cards interact with your boon pool and resource economy in ways that change the calculus on some Chaos decisions. See our Hades 2 Arcana Cards guide to understand which cards increase your Chaos boon returns before locking in a gate strategy.
Frequently Asked Questions
Are Chaos boons worth it in Hades 2?
Yes, with conditions. Tier 1–2 curses in early regions are almost always worth accepting because the blessing persists for the entire remaining run. The mistake most players make is treating every curse as equally painful — a 2-encounter Doomed and a 5-encounter Gagged have entirely different risk profiles. Evaluate the specific curse, not the concept.
What is the best Chaos boon in Hades 2?
For raw damage: Flourish at Epic rarity is the strongest single boon from any source in the game at +119% special damage. For survivability: Defiance, which effectively doubles your lives. For universal utility: Will, which removes the Magick constraint for omega-reliant builds without requiring any specific setup.
Can you take multiple Chaos boons in one run?
Yes, and you should. Taking multiple gates stacks blessings permanently, and Defiance only appears in the pool after you have taken at least one previous Chaos boon. Two Chaos blessings in a single run is a standard goal for optimized play.
Should I get the Cosmic Egg keepsake?
If you plan to take multiple Chaos gates per run, yes. Gifting Nectar to Chaos unlocks the Cosmic Egg keepsake, which removes the HP entry cost entirely. Pair it with the Spark of Ixion purchase from Wells of Charon to access gates in later regions that otherwise have zero spawn rates.
Sources
- Chaos Boons and Gameplay Tips — Game8
- Chaos Gate — Hades 2 Wiki and Guides
- Hades 2: Should You Descend? — GameRant
- How To Unlock and Use All Chaos Boons In Hades 2 — Screen Rant
- Chaos boons completely awful? — Steam Community Discussions
- Chaos Gate — Fextralife Hades 2 Wiki

I've been playing video games for over 20 years, spanning everything from early PC titles to modern open-world games. I started Switchblade Gaming to publish the kind of accurate, well-researched guides I always wanted to find — built on primary sources, tested in-game, and kept up to date after patches. I currently focus on Minecraft and Pokémon GO.