
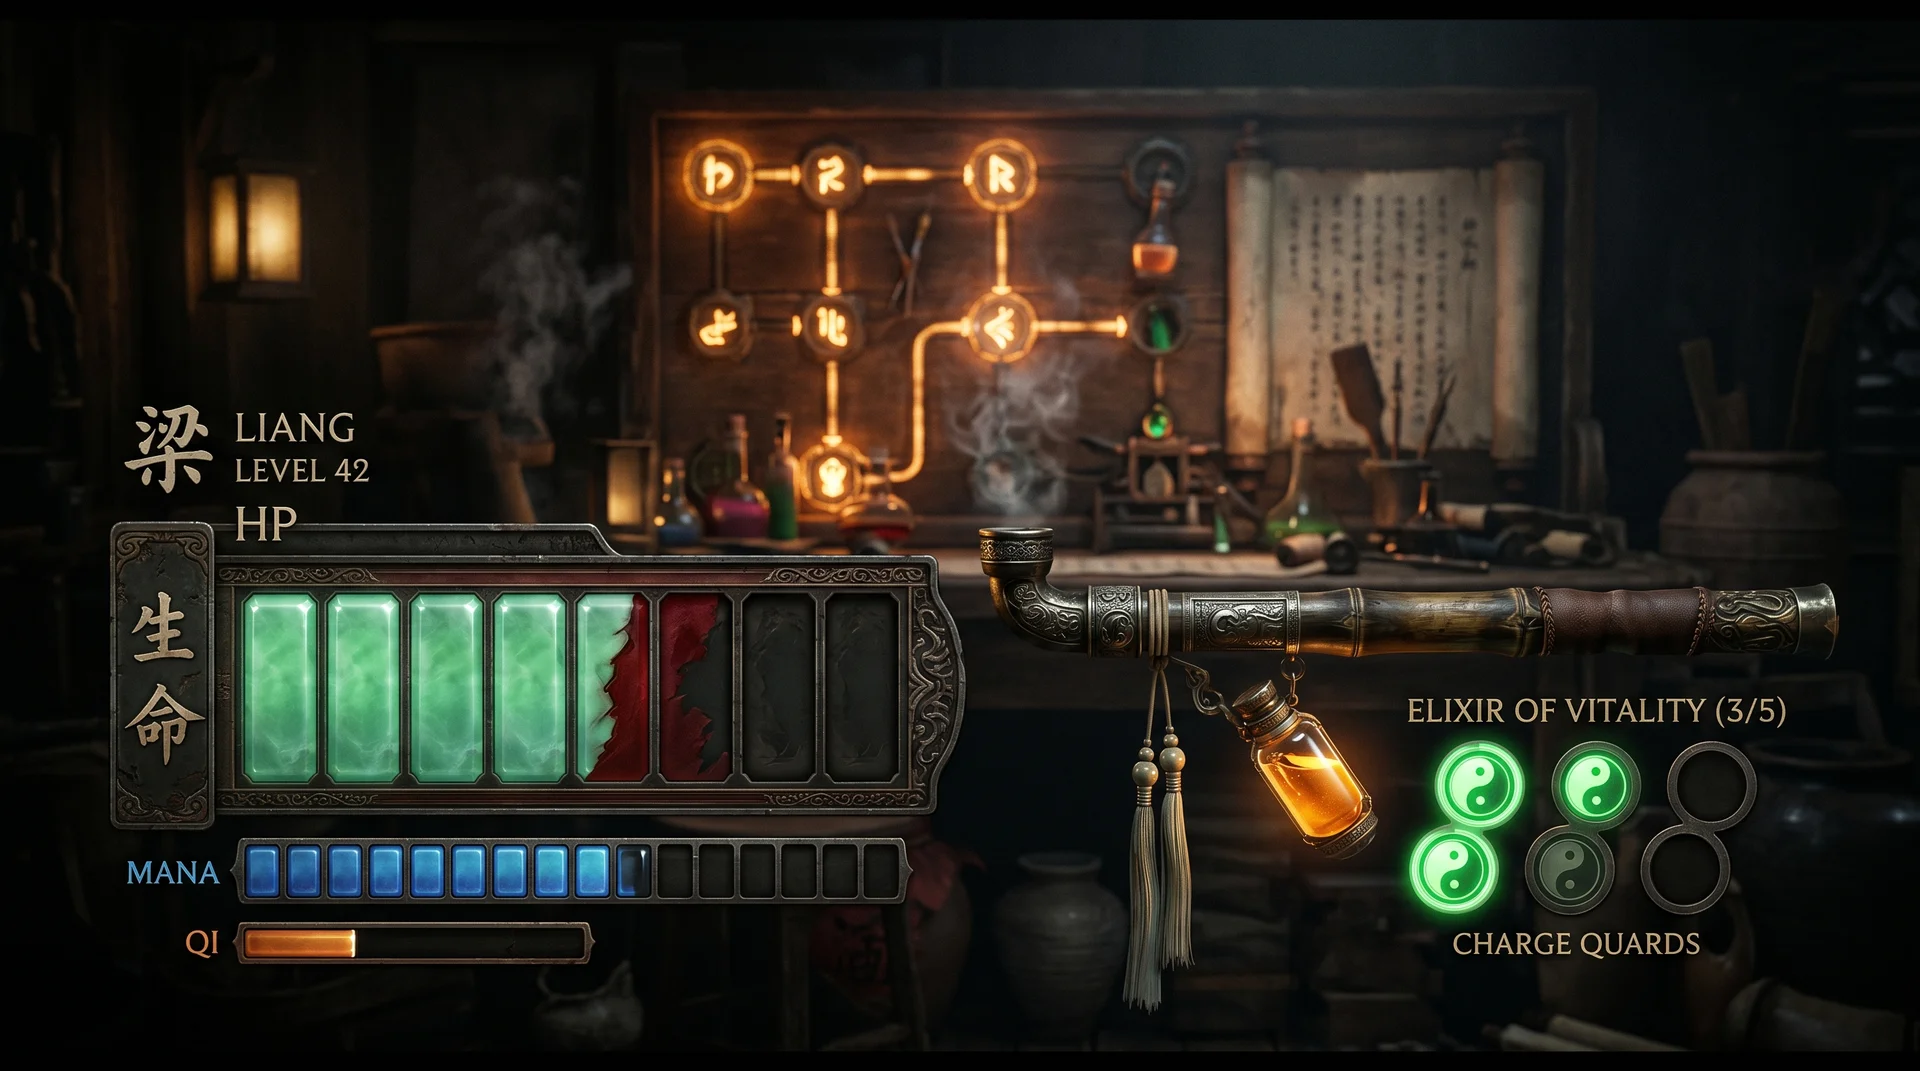
Most Nine Sols health guides tell you what to upgrade. None of them tell you when to use what you just upgraded. That gap is what ends runs — not a lack of charges, but burning them at the wrong moment while internal damage eats half the value.
This guide covers the full system: how HP works, where every Pipe Vial is hidden, what Kuafu’s upgrades actually cost, and — most importantly — the internal damage interaction that makes your heals disappear if you don’t account for it.
Verified against Nine Sols v1.4 (2025). Values may change with future patches.

Quick Start: 5 Steps Before Your Next Boss Attempt
- Defeat Yingzhao to unlock both Shennong and Kuafu at the Four Seasons Pavilion
- Give Shennong poisonous items (two per brew) until your max HP reaches 165 or higher
- Buy the first two Pipe Vials from the 3D Printer (1,000 + 2,000 Jin)
- Upgrade the Medicine Pipe once at Kuafu (800 Jin + one Herb Catalyst) for 67.5 HP per charge
- Buy Quick Dose Jade from Chiyou (1,250 Jin) before any boss that has fast attack patterns
What You’re Working With: HP, Segments, and the Prison Debuff
Yi starts with 120 maximum health, displayed as four 30-HP segments. With all eight Medicinal Brews from Shennong, that ceiling reaches 240 HP — eight full segments. Each brew requires two poisonous items, available from wandering merchant Chiyou or found during exploration. Fifteen poisonous items total unlocks the maximum.
One mechanic no other guide mentions: the Prison state imposes a −60% max HP penalty. If Yi is in Prison, his effective ceiling drops to 96 HP — barely three segments. That debuff persists until he rests at a Root Node or defeats Kanghui in that state. If heals feel worthless in a particular area, check whether the Prison debuff is active before spending a charge.
Maximum HP matters most in the early game. Going from 120 to 165 HP (three Shennong brews) is a bigger survival improvement than any single Kuafu upgrade, because it lets Yi absorb more imprecise parries before a heal becomes mandatory rather than optional.
The Medicine Pipe: What Changes When You Upgrade
At base, the Medicine Pipe holds two charges and restores 60 HP each. Charges and healing potency upgrade independently.
Charges increase by adding Pipe Vials — six in total, raising the count from 2 to 8. The charge upgrade is separate from the potency upgrade; buy them separately based on priority.
Healing per charge increases at Kuafu, who becomes available at the Pavilion once returned after Yingzhao’s defeat. Each upgrade costs 800 Jin plus one Herb Catalyst and adds 7.5 HP per charge. Eight upgrades (Level 9 Pipe) brings each charge to 120 HP — double the base value. Herb Catalysts drop from bosses and appear in chests; exactly eight exist in the game, matching the upgrade cap precisely.
Upgrade priority: potency upgrades are more efficient early because they apply to every charge you already hold. Going from 60 to 75 HP per charge means you extract more value from the same two base slots. Additional charges matter more once you hold four or more, where the volume advantage outweighs the per-use gain across longer boss encounters.
All 6 Pipe Vials: Where to Find Every One
| Vial # | Location | How to Get It | Cost |
|---|---|---|---|
| 1 | Four Seasons Pavilion — 3D Printer | Purchase | 1,000 Jin |
| 2 | Four Seasons Pavilion — 3D Printer | Purchase | 2,000 Jin |
| 3 | Four Seasons Pavilion — 3D Printer | Purchase | 4,000 Jin |
| 4 | Four Seasons Pavilion — 3D Printer | Purchase | 6,000 Jin |
| 5 | Lake Yaochi Ruins — Daybreak Tower | Play the bell melody to unlock a hidden room | Free |
| 6 | New Kunlun Central Hall (bottom left) | Complete the challenge room behind a Crimson Turret | Free |
The first two 3D Printer vials are affordable early and should be bought as soon as you can reach the Pavilion. Vials 3 and 4 are expensive at 4,000 and 6,000 Jin — prioritize the free world vials (5 and 6) before grinding for those. The Daybreak Tower melody is easy to miss because the bell interaction isn’t flagged on the map; look for a set of bells near the tower exit and interact with each in sequence.
The Internal Damage Trap: Why Your Heals Feel Weak
This is the mechanic no other Nine Sols health guide explains, and it changes how you should think about every boss fight.
When Yi performs an imprecise parry — one done slightly too early — he takes half the attack’s damage as internal damage, shown as a red section on the health bar. Internal damage is recoverable: if Yi goes five seconds without taking a direct hit, it heals passively at 4 HP per second.
The problem: the Medicine Pipe heals internal damage before it heals actual HP. If you have 40 internal damage on your bar and use a 60 HP charge, the first 40 HP clears the red section and only 20 HP restores real health. You spent a full charge for a 20 HP actual gain.
It compounds. If Yi takes a direct hit while carrying internal damage, all of that internal damage instantly converts to permanent damage. A 30-point internal buildup becomes 30 unrecoverable HP the moment you get clipped, and your next charge has to cover both the original loss and the converted internal.
The practical fix: never heal through internal damage if you can wait five seconds. The passive 4 HP/sec recovery costs nothing; a Medicine Pipe charge is finite. In boss fights, that five-second window is often the boss’s own attack recovery animation. Identify it, let the red bar clear, then decide whether to pop a charge for the remaining actual HP loss.
The Recovery Jade changes this entirely: it cuts the delay from five seconds to three and raises the passive rate from 4 to 12 HP/sec. With it, 36 HP of internal damage heals in three seconds — faster than most Medicine Pipe animations complete.
When to Heal: A Decision Framework for Boss Fights
The wrong approach: heal whenever health drops below half. That’s reactive and burns charges on situations the internal damage system would resolve for free.
The right framework, in order of check:
- Internal damage present? — Wait for the 5-second passive window. Only use a charge if health is critically low AND the boss pattern won’t give you five seconds of safety.
- No internal damage, health below one charge threshold? — Heal. Don’t wait until you’re near zero.
- Boss phase transition incoming? — Phase transitions (second health bar appearing, mid-fight cutscene, brief pattern pause) are your designated heal windows. Never enter a new phase with two or fewer charges if the transition gave you an opening.
- Two charges remaining? — Treat this as your hard floor. Running to one charge means a single mistake ends the attempt.
Quick Dose Jade makes this framework more practical. Without it, the Medicine Pipe animation is long enough that only specific boss recovery windows are safe to use it in. With it, almost any attack recovery gap works. Buy it before Goumang if you haven’t already.
Healing Jades: Three Loadouts for Three Situations
Exploration (open world, non-boss rooms): Medical Jade + Health Thief Jade. Medical Jade’s over-time healing works when enemies aren’t aggressive; Health Thief adds chip recovery on Shadow Strikes. Passive sustain, zero cost to playstyle.
Boss survival (any major encounter): Quick Dose Jade + Revival Jade. Quick Dose makes heal windows viable under pressure; Revival gives one automatic second chance on the first death. Two Computing Power each — fits any loadout without competition.
Aggressive recovery (players comfortable with the parry system): Breather Jade + Iron Skin Jade + Recovery Jade. Iron Skin converts roughly half of direct damage taken to internal damage; Breather converts internal damage back to HP on successful slash strikes; Recovery makes passive internal healing faster. The loop runs as follows: take damage → most goes to internal → slash through enemies → most recovers as HP. When all three jades are active, the system is nearly self-sustaining in sustained combat. The synergy only works with all three — equipping two of the three misses the compounding benefit.
Priority Order by Player Type
| Player Type | Upgrade Order | Jade Loadout | Core Focus |
|---|---|---|---|
| New player | Max HP first (3+ Shennong brews) → 2 Pipe Vials → Kuafu ×2 | Revival + Quick Dose | Survive long enough to learn patterns |
| Casual player | 4 Pipe Vials (3D Printer) → Kuafu ×4 → remaining HP brews | Quick Dose + Medical | More charges = more margin for error |
| Hardcore optimizer | Kuafu ×4 first → world Pipe Vials → HP brews | Breather + Iron Skin + Recovery | Maximize per-charge value, exploit internal damage loop |
| Completionist | All 6 Pipe Vials → all 8 Kuafu upgrades → all 8 HP brews | Adapt per boss encounter | Full system unlocked before late-game content |
New players: raw HP before charges. More health segments means more imprecise parries absorbed before entering the danger zone where a single mistake ends the run.
Optimizers: four Kuafu upgrades push each charge to 90 HP, which means each use heals past a full 30-HP segment. That changes what “critically low” means in practice — one charge covers more ground than two unupgraded ones in a two-mistake scenario.
FAQ
Can the Medicine Pipe animation be cancelled if you take damage?
The heal fails if damage interrupts the animation, but the charge is NOT consumed. You keep the pipe charge and try again. This means healing at the wrong moment isn’t always punishing — the charge returns. The exception is the Medical Jade’s over-time version, which is interrupted and does not refund the charge.
Is Medical Jade worth equipping for boss fights?
No. Medical Jade adds more total healing per charge, but the over-time application is cancelled by any damage taken. In boss fights with active pressure, the extra HP rarely registers before the next hit arrives. Use Quick Dose instead — slightly less healing per charge, but a shorter vulnerability window that makes heals land reliably.
What’s the fastest way to refill charges without resting?
Pipe Refill Stations restore all charges simultaneously without triggering a rest, which means enemies do not respawn. Use every one you pass before entering a boss arena or challenge room. Root Nodes also refill charges but reset enemy spawns — use them when you want both.
How much does max HP actually matter compared to more charges?
Early game, max HP wins. At 120 HP, a single bad sequence can kill you before you can react. At 165 HP (three brews), you have an additional 45-HP buffer — roughly one imprecise parry worth of safety. Mid-game, once you have four or more pipe charges, the volume matters more because longer boss fights deplete more total HP across the full attempt. The crossover point is roughly when you have four Pipe Vials and two Kuafu upgrades.
Sources
- How To Improve Your Health And Healing In Nine Sols — TheGamer
- Nine Sols: How To Increase Your Health And Healing Abilities — GINX TV
- How to Increase Healing Charges in Nine Sols — Prima Games
- Combat Tips And Tricks For Nine Sols — TheGamer
- Nine Sols: How Does Internal Damage Work — Game Rant
- Nine Sols: Best Jades, Ranked — Game Rant

I've been playing video games for over 20 years, spanning everything from early PC titles to modern open-world games. I started Switchblade Gaming to publish the kind of accurate, well-researched guides I always wanted to find — built on primary sources, tested in-game, and kept up to date after patches. I currently focus on Minecraft and Pokémon GO.