

The reason Dual Blades deal more elemental damage than any other weapon in Monster Hunter Wilds comes down to one formula detail: elemental damage does not scale with motion values [4]. A Great Sword True Charged Slash lands one hit at 218 motion value. A DB Blade Flurry connects 35 times in 7.25 seconds [5]. Both weapons apply the same elemental formula on every hit — the DB just applies it 35 times where the GS does it once.
This guide covers the element multiplier math that makes DB the top elemental pick, the Demon Mode stamina cycle that sustains that output, and three meta builds: a beginner setup, an elemental endgame configuration, and a status specialist path. For weapon choice context as a new player, our Monster Hunter Wilds beginner’s guide explains where DB fits the weapon tier list.
Verified on MHW Wilds (TU4). Mechanics and weapon stats change with Title Updates — confirm values in-game after each major patch.
Quick Start — Dual Blades in 5 Steps
- Unlock HR 6 — equip Twin Albiraths I (Fire 90) as your first dedicated elemental DB.
- Learn the Demon Mode toggle — hold RT (R2 on PS) to enter, release to exit. Watch your stamina bar, not the monster.
- Fill the Demon Gauge with standard attacks — Blade Dance and Demon Flurry Rush do not fill it; your basic slash combos do. Archdemon Mode activates automatically once the gauge is full [1].
- Match blade element to monster weakness — check our monster weakness guide before each hunt. Wrong-element DB underperforms raw damage [3].
- Slot Marathon Runner and Constitution before HR 40+ — without stamina skills, Demon Mode uptime collapses under sustained pressure.
The DB Kit — Demon Mode, Archdemon Mode, and Core Combos
Dual Blades operate on a two-mode toggle connected by the Demon Gauge. Both modes are always available — understanding when to use each determines how well you sustain DPS across a full hunt.
Demon Mode
Activating Demon Mode (hold RT/R2) increases movement speed, damage output, and grants knockback immunity [1]. The trade-off: the stamina gauge drains continuously, regardless of whether you are attacking or standing still [9]. Releasing the button immediately stops the drain. Treat Demon Mode as a burst window rather than a permanent stance — sustaining it past your stamina floor costs you dodge capability at the worst possible moment.
Demon Mode unlocks Blade Dance, a three-phase spinning combo. In Wilds, Blade Dance splits across three separate repositionable phases rather than locking you in place through the full animation — a meaningful change from older entries that significantly improves survivability mid-combo [9].
Archdemon Mode
Once standard attacks fill the Demon Gauge, Archdemon Mode activates passively on your character without consuming stamina [1]. The gauge depletes slowly over time and faster during active attacks. Using the Archdemon dodge also reduces both gauge and stamina — avoid dodge-spamming while in Archdemon Mode or you drain both resources simultaneously.
Crucially, Archdemon Mode does not cancel Demon Mode — both run simultaneously [1]. Archdemon Mode is your recovery phase: Demon Flurry Rush available, no stamina drain. Demon Mode is your burst phase: Blade Dance access, higher output, stamina burn. Toggle between them based on your stamina bar, not the combo.
Core Combos
The highest-damage sequence is the Blade Flurry: Blade Dance I through III chained into Demon Flurry Rush I through III [1]. Game8’s motion value analysis puts this combo at 503 total motion value across 35 hits in 7.25 seconds, with an element multiplier of 27.2 [5]. Save it for topple, trap, or stun windows — the full chain requires a committed window and rewards patient positioning.
For mobile pressure, the Demon Fang into Demon Flurry Rush loop covers range with no animation locks, letting you dodge between inputs while filling the gauge efficiently [1]. Run this against a mobile, upright monster.
A well-timed Perfect Dodge — dodging at the precise moment before an attack lands — triggers Demon Boost: a 12-second damage buff that converts your dodge into a damaging Screw Slicer spin [1][9]. Landing it during a monster’s telegraphed big attack simultaneously avoids damage and generates bonus output from the evasion itself. This is the highest skill-expression play in the DB kit.
The Element Multiplier Math — Why DB Is the Strongest Elemental Weapon
Most guides conclude that Dual Blades excel at elemental damage without showing the mechanics behind it. The formula from Game8’s official breakdown [4]:
Elemental Damage = (Elem. Attack ÷ 10) × Sharpness Modifier × Hitzone Value × Quest Modifier × Critical Modifier
Notice what is absent: a motion value term. Elemental damage does not scale with how powerful a single attack is — it applies at full rate whether the attack carries 18 motion value or 218 [4][5]. This is the structural reason DB outperforms every other weapon at elemental damage.
The Frequency Calculation
Compare the two weapons at opposite ends of the motion value spectrum:
- DB Double Slash: 18 motion value, but chains into 35 hits over 7.25 seconds in a Blade Flurry [5]
- GS True Charged Slash: 218 motion value, but realistically lands 3–4 times in that same 7.25-second window [5]
Elemental procs: DB applies the formula 35 times; GS applies it 3–4 times. Raw DPS favors GS by design — DB’s low per-hit MV is intentional. Elemental output goes to DB by a ratio that scales directly with attack frequency rather than attack power. At 30–50+ hits per minute in sustained play [3], the difference compounds across a full hunt.
Community testing puts this advantage at 29% more total damage for element-matched DB versus raw builds (approximately 3,600 DPS versus 2,800). Mismatched element — wrong element for the monster’s hitzones — actually underperforms raw entirely [3]. The 29% advantage only exists when the element matches the monster’s weakness, which is why the weapon swap habit matters more for DB than for any other weapon class.
Critical Element and Element Cap
Critical Element multiplies elemental output on critical hits, adding to the Critical Modifier term in the formula [7]. Building to 100% affinity on wounded parts (Critical Eye 7 + Weakness Exploit 3 + Critical Boost 3) turns this from a proc into a permanent multiplier — every hit triggers it [3].
The element cap matters for weapon selection. MHW Wilds caps total elemental attack at whichever is higher: base element plus 400, or base element multiplied by 2.3 [4]. Weapons with 310 or more base element hit the multiplier cap — the Tiltkreise at 350 base element uses the 2.3× calculation, capping at 805 total elemental attack at maximum reinforcement [2]. Stacking elemental attack skills past your weapon’s cap produces diminishing returns.
Demon Mode Stamina Cycle — Managing Your Biggest Weakness
Demon Mode’s stamina drain is the primary skill floor for DB. Hunters who manage the cycle sustain high Demon Mode uptime; hunters who ignore it spend the hunt attacking in base mode at lower output and miss the Blade Dance windows entirely.
The Practical Cycle
- Enter Demon Mode — begin the Blade Flurry if the monster is committed, or the Demon Fang loop for mobile pressure.
- Watch stamina, not the combo — exit when the bar hits 10–15% [3]. Below that threshold you lose the dodge capability needed to react to attacks mid-combo.
- Transition to Archdemon Mode — Demon Flurry Rush applies pressure without stamina cost while your bar recovers.
- Use a Focus Strike when a wound opens — Focus Strike: Turning Tide temporarily halts stamina drain mid-animation [1], giving a free recovery window during a high-damage attack on the wound.
- Re-enter Demon Mode once stamina clears 50% — this gives you a full cycle before the next exit threshold.
Marathon Runner 3 reduces fixed stamina depletion by 50% [3] — the single highest-value stamina skill for DB. Constitution 3 reduces dodge stamina cost by 25% [3], which matters during Archdemon Mode when the unique dodge drains both gauge and stamina. Both are mandatory at HR 50+ where hunts extend past 10 minutes.
Bring Energy Drinks and Well-done Steaks on any hunt where Demon Mode is your primary damage stance [1]. Energy Drinks restore stamina instantly; Well-done Steaks raise your maximum stamina bar. Neither is optional at endgame.
Elemental vs Status DB — Two Distinct Meta Paths
Dual Blades support two competitive endgame strategies with different weapon investment, different hunt management, and different situations where each excels.
| Factor | Elemental DB | Status DB |
|---|---|---|
| Best against | Monsters with clear elemental weakness (Mizutsune, Lagiacrus, Rathalos) | Monsters with low elemental hitzones (Zoh Shia, armored targets) |
| Gear investment | Multiple weapons — one per relevant element | Two Artian DB (Para + Blast) |
| Skill priority | Critical Element, Agitator, Weakness Exploit | Weakness Exploit, Constitution, Agitator |
| Hunt management | Swap weapon per monster; one build covers the full hunt | Rotate two status weapons mid-hunt to prevent resistance buildup |
| Party role | Highest per-hunt DPS on element-weak targets | Paralysis windows for team burst; consistent on element-resistant targets |
Decision Tree: Which Path Is Right for You?
- Farming one specific monster → Elemental DB matched to its weakness
- Running mixed or random hunts → Status DB (Para + Blast) avoids element-mismatch penalties entirely
- Solo play, want free burst windows → Status DB; paralysis freezes the monster, giving you uncontested Blade Flurry opportunities
- Party play, want raw DPS contribution → Elemental DB; your elemental output stacks with teammates’ KO and mount windows
- Target has low elemental hitzones across all elements → Status DB or raw-adjacent build
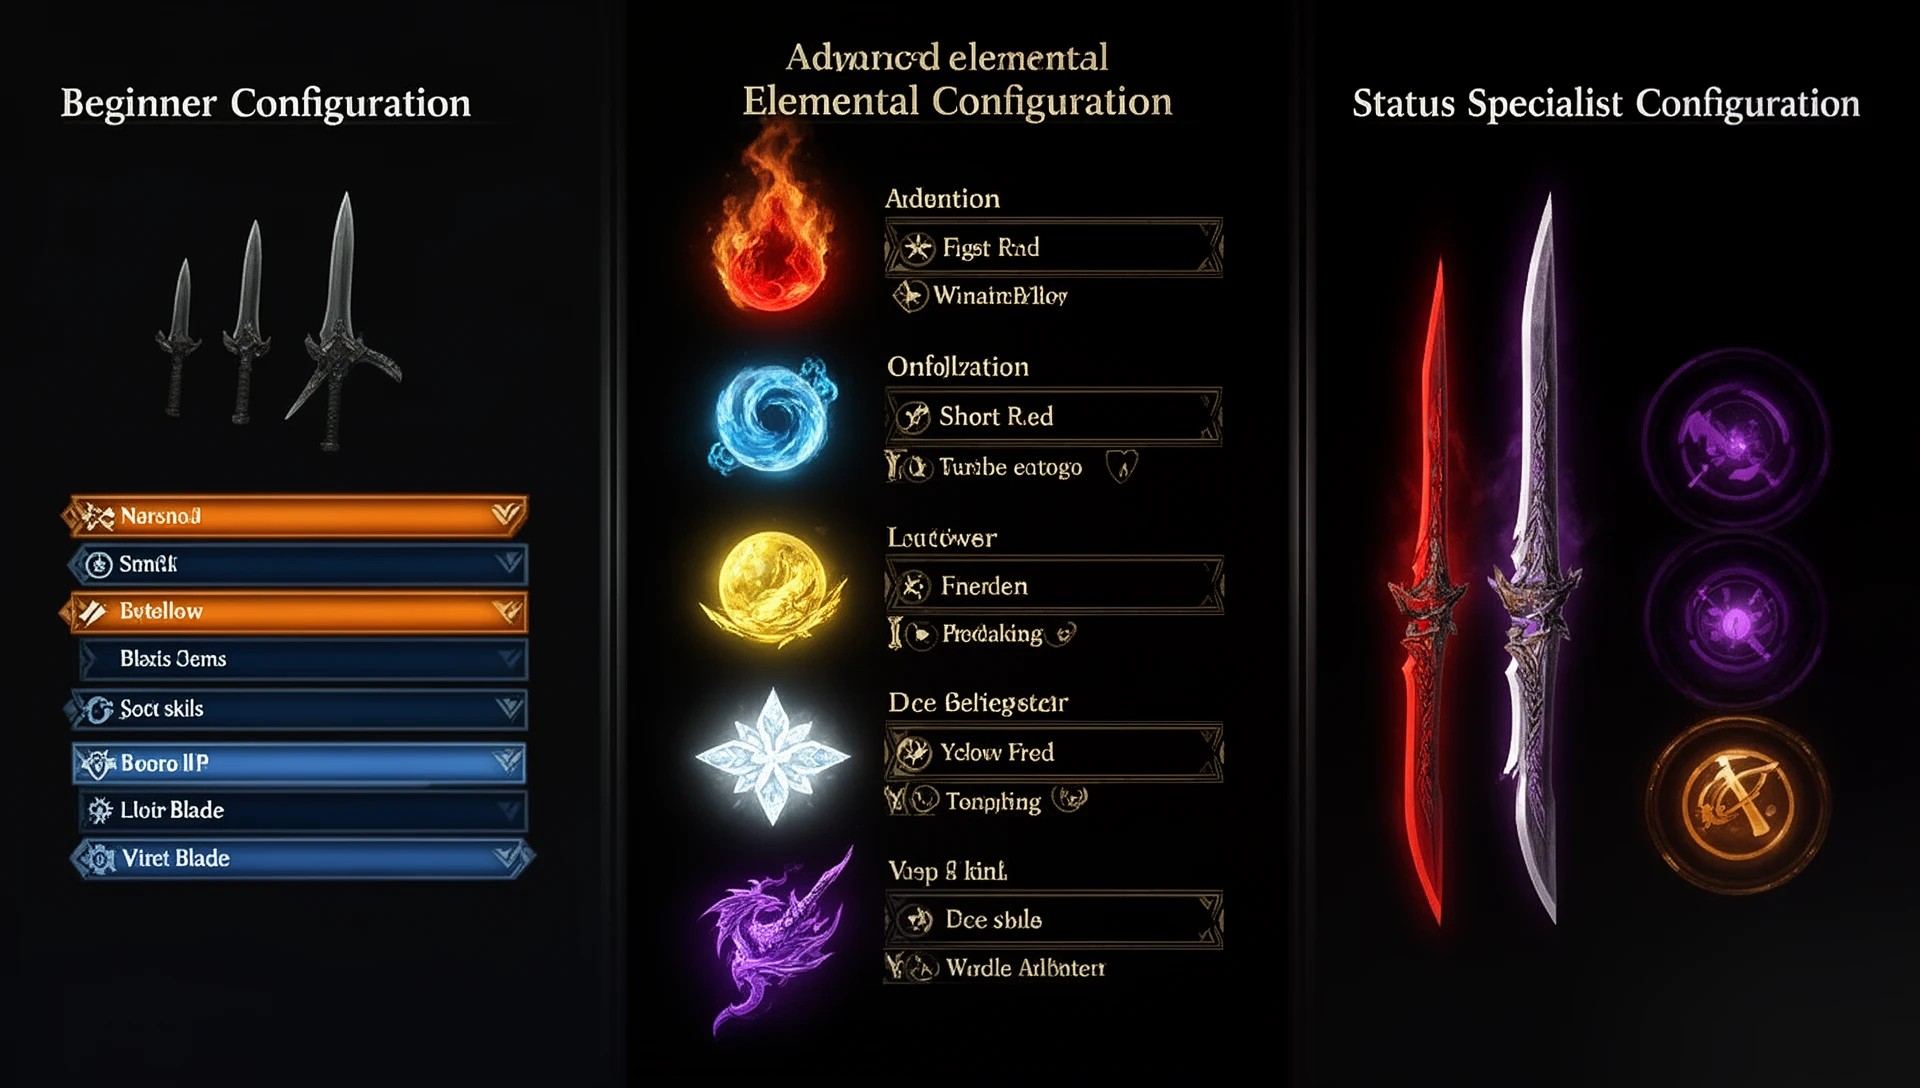
Build 1 — Beginner Demon Mode
Goal: Learn Demon Mode fundamentals with gear accessible by HR 20. The priority is building the Demon Mode cycle habit, not maximising damage.
| Slot | Equipment |
|---|---|
| Weapon | Twin Albiraths I (Fire 90, available from HR 6) |
| Helm | G Ebony Helm |
| Chest | Rey Sandmail |
| Braces | G Ebony Braces |
| Waist | Xu Wu Coil |
| Greaves | Xu Wu Greaves |
| Decoration priority | Crit Element Jewel 1 when available, Constitution Jewel 1 |
Active skills: Fire Attack (partial), Constitution 1–2, base Weakness Exploit from armor mix [7].
This setup exists to teach the stamina cycle, not hit DPS benchmarks. The G Ebony combination provides enough stats to clear HR content while you develop exit-timing instincts. Focus exclusively on the Demon Fang into Demon Flurry Rush loop until exiting Demon Mode at the right stamina level feels automatic — only then add the Blade Flurry chain.
Slot the Crit Element Jewel 1 as soon as you have it — even one level contributes elemental critical output on every critical hit, and you will be landing crits on weakpoints regularly by HR 15+.
When to upgrade: Once you are clearing 10-minute Mizutsune hunts without running out of stamina mid-combo, move to the HR 40+ elemental setup. For armor progression across HR brackets, our best armor sets guide covers the tier-by-tier gear path.
Build 2 — Elemental DB Endgame (HR 50+)
Goal: Maximum elemental DPS in the TU4 meta, with five-element weapon coverage.
| Slot | Primary | Alternative |
|---|---|---|
| Weapon | Tiltkreise (element-matched, 266 ATK / 350 ele / 20% affinity) [2] | Eternal Cusp (Gogmazios Artian, Dragon focus) |
| Helm | G Ebony Helm β | Dahaad Shardhelm γ |
| Chest | Gogmazios Mail β | Udra Miremail α (mid-game HR 40+) |
| Braces | Rathalos Vambraces β | Guardian Rathalos Vambraces |
| Waist | Gore Coil β | Rey Sand Coil β |
| Greaves | Gore Greaves β | Mizutsune Greaves β |
| Charm | Marathon Charm III | Counterattack Charm III (endgame) |
Key skills: Agitator 5, Weakness Exploit 5, Adrenaline Rush 5, Burst 4, Critical Boost 3, Marathon Runner 3, Constitution 3, Razor Sharp 3 [2][6].
Craft a Tiltkreise for each element you hunt regularly and reinforce each with two Attack boosts and one Affinity boost [7]. The weapon’s 350 base element pushes past the 2.3× multiplier cap threshold, meaning elemental attack skills add percentage gains rather than flat values at this tier [4].
Agitator 5 activates when the monster is enraged — which covers the majority of any HR hunt. Combined with Adrenaline Rush (triggers on a successful dodge), you run two conditional damage buffs simultaneously for most of each fight. Burst 4 adds roughly 3% raw output after landing a hit, which Blade Flurry maintains trivially [2].
The two-piece Gore Magala set bonus (Gore Coil + Gore Greaves) activates at above 80% HP and below 40%, providing free damage during both the opening phase and the critical endgame phase. Pair with Guts (Tenacity) from Gogmazios armor pieces to survive a lethal hit and maintain HP above the Adrenaline Rush threshold [2].
Element Coverage — Which DB per Monster
| Element | Weapon | Key Targets |
|---|---|---|
| Fire | Tiltkreise (Fire) | Rathalos, Gore Magala, Hirabami |
| Water | Tiltkreise (Water) | Mizutsune, Nu Udra, Quematrice |
| Thunder | Tiltkreise (Thunder) / Whirling Fulgur I | Lagiacrus, Seregios, Uth Duna |
| Ice | Tiltkreise (Ice) | Rey Dau, Yian Kut-Ku |
| Dragon | Eternal Cusp (Gogmazios Artian) | Guardian Rathalos, Rathian |
Check the monster weakness chart before swapping weapons. Elemental matchups in Wilds are asymmetric enough that wrong-element DB underperforms a raw setup by a meaningful margin [3].
Build 3 — Status DB Specialist
Goal: Maximum status application for monsters with low elemental hitzones and for team utility through paralysis windows.
| Slot | Equipment |
|---|---|
| Weapon A | Artian DB (Paralysis) — reinforce with two Status, one Attack |
| Weapon B | Artian DB (Blast) — reinforce with two Status, one Attack |
| Helm | Gore Helm β |
| Chest | Gogmazios Mail β |
| Braces | Gore Vambraces β |
| Waist | Gore Coil β |
| Greaves | Gore Greaves β |
| Charm | Constitution Charm III |
Key skills: Weakness Exploit 3, Critical Eye 3, Agitator 3, Constitution 3, Stamina Surge 2, status-boost decorations [8].
The core management rule for status DB: monsters build resistance every time a status procs [8]. After the first paralysis, the threshold for the second is higher; by the third, noticeably higher again. Rotating between two status types — Para for procs one and two, then swapping to Blast — resets the resistance curve on each type independently, maintaining consistent proc rates across the full hunt. Experienced hunters report three paralysis applications per four-minute hunt using this rotation [8].
Sleep is a strong third option if you have a coordinated group: three to four sleep procs per hunt give the party free wakeup burst opportunities, and DB’s hit frequency delivers the first sleep proc within the opening minute at full status attack [8].
Avoid Poison on HR targets. DB applies it quickly, but the DPS return does not justify the status investment at kill times achievable in HR 50+ content [8].
When NOT to use Status DB: Against Mizutsune and Lagiacrus, a matched elemental DB outperforms status by a significant margin — their elemental hitzones are too high to ignore. Status DB shines against Zoh Shia, armored monsters, and any target where your elemental match is weak or absent.
Monster-Specific Picks
Dual Blades are the closest elemental DPS competitor to the Bow in MHW Wilds — both weapons scale heavily with element, but DB trades range for guaranteed melee uptime. The monster matchup logic differs slightly because DB requires staying in melee, while Bow excels on mobile or ranged targets.
| Monster | Recommended DB Approach | Reasoning |
|---|---|---|
| Zoh Shia | Raw-focused or Blast status | Elemental hitzones are low across most elements. Blast provides consistent bonus damage without element dependency and procs regardless of hitzone value. |
| Mizutsune | Water-element DB (Tiltkreise Water) | Water is a primary weakness. DB’s hit frequency maximizes water elemental procs per minute on the head and flanks during repositioning windows. |
| Lagiacrus | Thunder-element DB (Tiltkreise Thunder / Whirling Fulgur I) | Thunder weakness runs across the head and flanks. DB mobility keeps you on the hitzone during Lagiacrus’s constant repositioning and water-jet dodges. |
| Gore Magala | Fire DB or Blast status | Fire resistance during Frenzy phases makes element inconsistent; Blast maintains effective damage through status phases where elemental resistances shift. |
| Guardian Rathalos | Dragon-element DB (Eternal Cusp) | Dragon is the primary weak point; Eternal Cusp’s Gore Magala’s Tyranny set bonus activates during the extended fight windows the Guardian variant creates. |
When to avoid DB: Targets with narrow or highly mobile hitzones (Rey Dau in sustained flight, Nu Udra at depth) reduce DB’s close-range advantage significantly. If you cannot maintain melee uptime on a weakpoint, the Bow achieves higher elemental efficiency at range for the same element investment. DB performs best on large, grounded targets where the Blade Flurry chain stays on hitzone for its full 7.25-second duration.
Player-Type Recommendations
| Player Type | Recommended Path | Priority Skills | HR Target |
|---|---|---|---|
| New player | Build 1 — Beginner Demon Mode | Fire Attack, Constitution, Marathon Runner | HR 1–20 |
| Casual | Tiltkreise + 2–3 elements, HR 40+ armor mix | Weakness Exploit 3, Agitator 3, Marathon Runner 3 | HR 40–50 |
| Hardcore | Full Build 2 + Status rotation Build 3 for resistant targets | Agitator 5, WE 5, Adrenaline Rush 5, Burst 4 | HR 100+ |
| Completionist | All 5 element DB + Para + Blast + Sleep Artian sets | Full meta skills + status rotation | Post-Gogmazios |
Frequently Asked Questions
Is Dual Blades viable for solo play?
Yes, with one adjustment. Paralysis DB is even stronger solo because you create and exploit your own free burst windows rather than sharing them with a party. The stamina management overhead is higher solo since there is no team pressure covering your Demon Mode recovery phases — run Constitution 3 and Marathon Runner 3 before attempting HR 50+ content alone.
How many elemental DB do I need?
Three to four covers 90% of content effectively: fire (Rathalos line), water (Mizutsune or Udra line), thunder (Lagiacrus or Seregios line), and ice (Rey Dau line). Dragon weapons are situational enough that the Eternal Cusp handles most dragon-weak targets without a dedicated slot. Casual hunters can run two or three elements and accept a damage penalty on mismatched hunts [7].
Constitution or Marathon Runner — which to prioritize?
Marathon Runner first. It reduces the fixed stamina drain of Demon Mode by 50% at level 3, directly extending how long you can stay in your burst stance per cycle [3]. Constitution reduces dodge stamina cost — valuable during Archdemon Mode when the unique dodge drains both gauge and stamina — but it is the lower-priority skill if you have to choose [3].
Can I play DB while mostly staying in Archdemon Mode?
You can, and against aggressive monsters that punish animation locks it is sometimes the right call. Archdemon Mode is a serviceable damage stance with no stamina cost. However, Blade Dance and the Perfect Dodge into Demon Boost chain are your highest-output tools and both require Demon Mode active. A DB hunter who cycles Demon Mode correctly outperforms an Archdemon Mode-only approach by a significant margin — community estimates put the gap at roughly 20–25% total damage output [3].
What is the best status for Dual Blades?
Paralysis for DPS-focused play — it stops the monster completely, giving free burst phases. Blast for consistent, resistance-agnostic bonus damage on any target regardless of hunt length. Sleep when hunting with a coordinated group that can set up a wakeup burst after the proc: the multiplied damage on a sleeping monster sleeping after a well-timed kill opener is the highest single-hit output in the game. Avoid Poison in HR 50+ content; the DPS return does not justify the status investment at the kill times achievable with proper builds [8].
Sources
- Dual Blades Weapon Guide and Best Combos — Game8
- Best Dual Blades Builds for High Rank — Game8
- Best Dual Blades Builds 2026: Elemental DPS Meta Guide — WildsBuilder
- How Does Weapon Elemental Damage Work? — Game8
- What Are Motion Values? — Game8
- Dual Blades High Rank Builds — Icy Veins
- Best Dual Blades Build Guide — DualShockers
- Monster Hunter Wilds: Best Dual Blades Builds — TU4 — QuestDuo
- Monster Hunter Wilds Dual Blades Guide — Fextralife

I've been playing video games for over 20 years, spanning everything from early PC titles to modern open-world games. I started Switchblade Gaming to publish the kind of accurate, well-researched guides I always wanted to find — built on primary sources, tested in-game, and kept up to date after patches. I currently focus on Minecraft and Pokémon GO.