
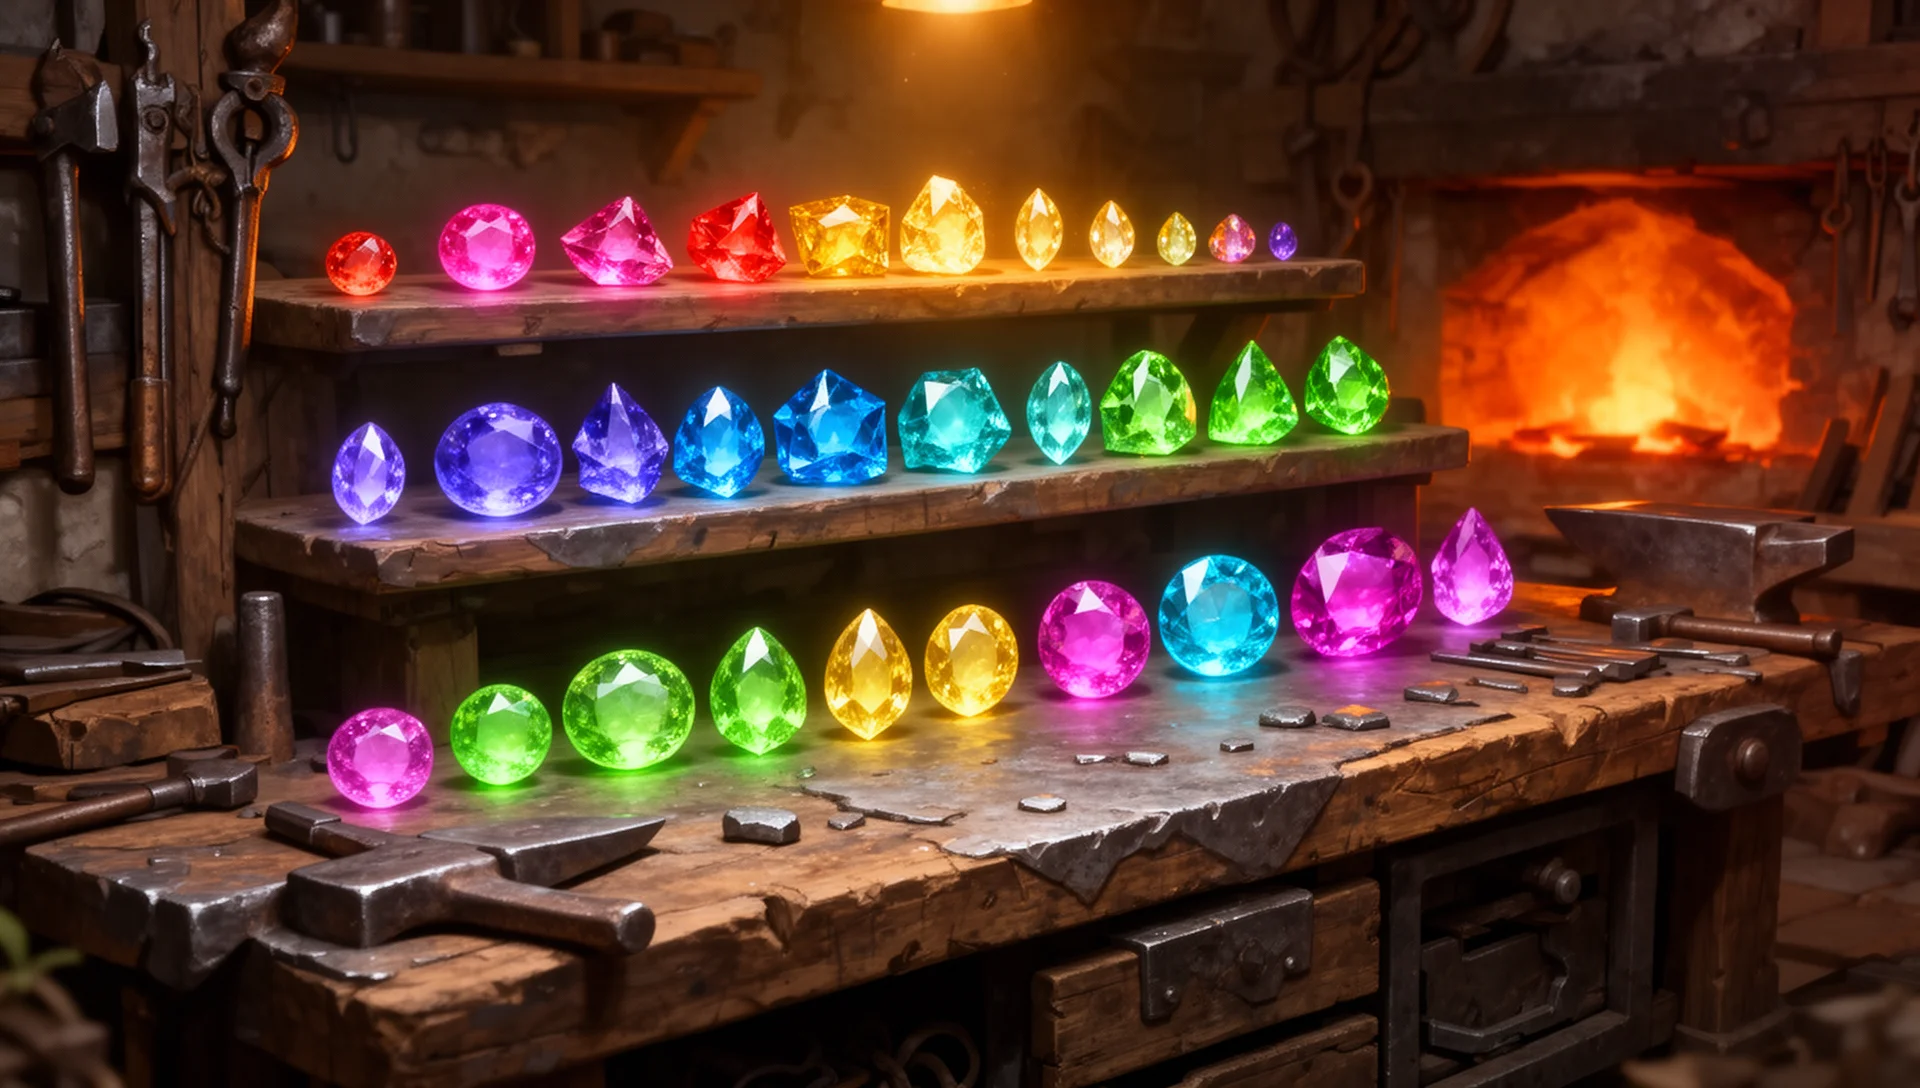
Quick Start: 5 Steps to a Decoration-Optimized Build
- Reach Suja, Peaks of Accord and unlock Vio’s Melding Pot (available early in the story).
- Hit Hunter Rank 40+ before targeting Rarity 6 decorations — sub-40, the highest-tier decos won’t appear in the pool.
- Farm Glowing Orbs and Ancient Orbs via investigations, then trade Nightflower Pollen for Gold Melding Tickets (1,500 melding points each).
- Prioritize dual-skill [3] decorations from TU3 onward — they pack two skills into one slot and are the biggest per-slot efficiency gain in the game.
- Recycle excess decos into Melding Points rather than letting them sit in storage.

How Decoration Slots Work in Monster Hunter Wilds
Decoration slots in Monster Hunter Wilds come in three sizes: Level 1, Level 2, and Level 3. Every armor piece and weapon has a fixed number of slots at fixed sizes, printed on the equipment card. A Level 3 slot accepts any decoration of size 1, 2, or 3. A Level 1 slot only fits a size-1 decoration.
That direction only flows one way: you can fit a smaller decoration into a larger slot, but never a larger decoration into a smaller slot. A [2] jewel in a [3] slot wastes the slot’s potential — you could have placed a [3] jewel there instead. This is the fundamental optimization pressure behind decoration management.
There are no size-4 slots in Monster Hunter Wilds. The maximum in this game is Level 3. (The size-4 system appeared in Monster Hunter World: Iceborne but was not carried over.) Any guide referencing “slot 4 decorations” is describing a different entry in the series.
Decorations also split into two categories based on where they equip:
- Weapon Decorations: affect Attack Power, affinity, and weapon-specific properties. They only fit weapon decoration slots.
- Armor Decorations: provide Defense, Elemental Resistances, and skill bonuses. They only fit armor decoration slots.
A piece of armor with slots [3][2][1] is noticeably more valuable than one with [1][1][1] because the [3] slot can hold a high-efficiency decoration that requires size 2 or 3. When choosing between two armor pieces with similar base stats, count the total slot value — a [3][2][1] piece has effective capacity of 6, while [1][1][1] has capacity 3.
Verified against in-game mechanics and multiple community sources as of TU4. Values may shift with future Title Updates.
Skill Point Math: How Many Jewels Do You Actually Need?
The number in a decoration’s name tells you exactly how many skill levels it grants. An Expert Jewel [1] gives +1 Critical Eye. An Expert Jewel II [2] gives +2 Critical Eye. An Expert Jewel III [3] gives +3 Critical Eye. Each decoration size corresponds directly to its skill-level contribution.
This math matters because skill maximums create hard farming targets. You are not farming “as many as I can get” — you are farming to a specific number, then stopping and recycling extras.
| Skill | Max Level | Minimum Fill ([1] jewels only) | Efficient Fill ([3] jewels) |
|---|---|---|---|
| Critical Eye | 7 | 7x Expert Jewel [1] | 2x Expert Jewel III [3] + 1x [1] |
| Weakness Exploit | 3 | 3x Tenderizer Jewel [2] | 1x Tenderizer Jewel III [3] |
| Critical Boost | 3 | 3x Critical Jewel [2] | 1x Critical Jewel III [3] |
| Attack Boost | 7 | 7x Attack Jewel [1] | 2x Attack Jewel III [3] + 1x [1] |
| Health Boost | 3 | 3x Vitality Jewel [1] | 1x Vitality Jewel III [3] |
| Agitator | 5 | 5x Agitator Jewel [2] | 1x Agitator III [3] + 1x [2] |
The practical implication: if you have a free [3] slot and your build needs 3 more levels of Critical Eye, one Expert Jewel III fills it completely. Using three Expert Jewel [1] decos in three separate [1] slots costs you two extra slots for the same result. Higher-tier jewels are not just more convenient — they release slots for other skills.
This is why the decoration endgame is fundamentally about slot efficiency. A full-coverage build at 90% slot efficiency beats a slightly higher-damage build at 60% slot efficiency once defensive and utility skills start mattering in endgame hunts.
Dual-Skill Decorations: The Post-TU3 Efficiency Multiplier
Title Update 3 added a category of [3] decorations that grant two different skills simultaneously. These combination jewels are the biggest per-slot value addition to the decoration system since launch.
An example: the Blaze-Guardian Jewel [3] gives Fire Attack Lv3 and Offensive Guard Lv1 in a single Level 3 slot. Without this jewel, achieving the same result requires one [3] slot for Fire Attack and at least one [1] or [2] slot for Offensive Guard — two slots instead of one.
A sample of dual-skill jewels in the current pool:
| Decoration | Slot | Skill 1 | Skill 2 | Best For |
|---|---|---|---|---|
| Blaze-Guardian Jewel | [3] | Fire Attack Lv3 | Offensive Guard Lv1 | SnS / SA fire builds with Guard |
| Bolt-Crit Elem Jewel | [3] | Thunder Attack Lv3 | Critical Element Lv1 | Thunder builds, bowguns |
| Bandolier-Blaze Jewel | [3] | Tetrad Shot Lv3 | Fire Attack Lv1 | HBG Spread fire builds |
| Charge/Handicraft Jewel | [3] | Charge Master Lv3 | Handicraft Lv1 | Charge Blade, Hammer |
The strategic point: dual-skill decos do not always outperform single-skill alternatives — the win depends on whether both halves of the jewel are relevant to your build. When they are relevant, you recover one full slot per jewel. Two or three dual-skill [3] decos in a single build typically frees up 2-3 extra slots, which translates to 2-3 additional utility skill levels (Evade Window, Speed Sharpening, or a second defensive layer). This is a rough community estimate based on observed build comparisons rather than confirmed developer data, so treat it as directional rather than precise.

Top 10 Must-Farm Decorations
Priority rankings based on universal build applicability across weapon types. “Qty needed” is the count for maximum skill level using the most slot-efficient combination.
| Tier | Decoration | Slot | Skill | Qty for Max | Why It Wins |
|---|---|---|---|---|---|
| S | Expert Jewel [1] | 1 | Critical Eye (+5% affinity per level) | 7 (or 2x [3]+1x[1]) | Most impactful size-1 decoration; fits any slot; affinity multiplies every hit |
| S | Tenderizer Jewel [2] | 2 | Weakness Exploit (+50% affinity on wounds) | 3 | +50% affinity on wounds is the single largest conditional damage bonus in the game |
| S | Critical Jewel [2] | 2 | Critical Boost (+5% crit damage/level) | 3 | Multiplies every crit hit; synergy with Critical Eye makes this mandatory in affinity builds |
| A | Attack Jewel [1] | 1 | Attack Boost | 7 | Universally useful; fills spare [1] slots; baseline damage floor for all builds |
| A | Exploiter Jewel [2] | 2 | Wound Exploit | 3 | Stacks multiplicatively with Weakness Exploit on wounded hitzones |
| A | Focus Jewel [2] | 2 | Focus Mode | 5 | Mandatory for LS, GS, Charge Blade, SnS; accelerates gauge and charge to Focus Lv5 |
| B | Vitality Jewel [1] | 1 | Health Boost (+50 HP at Lv3) | 3 | Health Boost 3 often has more survival value than Attack in high-damage endgame content |
| B | Protection Jewel [1] | 1 | Divine Blessing | 3 | Chance to reduce damage; good in [1] slots once offensive priorities are covered |
| B | Agitator Jewel [2] | 2 | Agitator (bonus during enrage) | 5 | Free damage when monster enrages; endgame monsters enrage frequently enough to be consistent |
| B | Grinder Jewel [1] | 1 | Speed Sharpening | 3 | Sharpness loss at endgame demands faster whetstoning; essential for raw blademaster builds |
Never meld away Expert Jewels, Tenderizer Jewels, or Critical Jewels below your maximum-needed count. These three form the backbone of every affinity-scaling build in the game.
The Decoration Farming Pipeline
Decoration access unlocks in stages. Jumping to endgame methods before meeting the requirements wastes time. Here is the progression in order:
Stage 1 — Story through Suja unlock: Basic Mystery Orb melding becomes available when you first reach Suja, Peaks of Accord. Mystery Orbs cost 4 Melding Points and yield a random Level 1 decoration. This covers basic utility [1] decos while your build is incomplete.
Stage 2 — Chapter 5, Storm-Cold Vortex mission: Completing this mission unlocks Glowing Orb melding. Glowing Orbs cost 10 Melding Points and can yield Level 1 or Level 2 decorations. This is where you start targeting [2] decos like Tenderizer and Critical Jewels.
Stage 3 — “What Lies Ahead” mission + HR 40+: Ancient Orb melding unlocks. Ancient Orbs — Armor cost 90 Melding Points and yield Level 1, 2, or 3 decorations, with Rarity 6+ decos entering the pool at HR 40. This is the tier where real build optimization begins.
Stage 4 — HR 100+: Tier 2 Melding unlocks, giving access to the deepest decoration pools including the highest-rarity jewels.
For active investigation farming: use the World Map to identify multi-monster quests that list decoration rewards. Save these as investigations (repeatable up to 3 times each). Multi-monster investigations have larger reward pools per run than single-monster quests and are the most efficient way to accumulate Melding Points from excess decoration drops.
Wyverian Melding Point Economy
Every orb at Vio’s Melding Pot in Suja has a point cost. Understanding the economy determines whether a given ticket is better spent on Armor Orbs or Sword Orbs.
| Meldable Item | Point Cost | Output | Pulls per Gold Ticket (1,500 pts) |
|---|---|---|---|
| Mystery Orb | 4 pts | Level 1 deco only | 375 |
| Glowing Orb | 10 pts | Level 1-2 deco | 150 |
| Ancient Orb — Armor | 90 pts | Level 1-3 deco | ~16 |
| Ancient Orb — Sword | 150 pts | Level 1-3 deco | 10 |
The optimal spend for targeted endgame farming: Ancient Orb — Armor at 90 points per pull. One Gold Melding Ticket (1,500 points) gets approximately 16 pulls, each capable of yielding a Level 3 decoration. Ancient Orb — Sword is preferable when targeting weapon-specific skill decos specifically.
Silver Melding Tickets (450 points each) come from Limited Bounties and are worth spending immediately on Ancient Orb — Armor pulls. Never sit on unspent Silver or Gold tickets.
The Nightflower Pollen Pipeline: Step-by-Step
The Nightflower Pollen route is the fastest way to generate Gold Melding Tickets without relying on investigation RNG. One pollen = one Gold Melding Ticket = 1,500 melding points = approximately 16 Ancient Orb pulls. Here is the full route:
- Reach High Rank. Nightflower Pollen is Rarity 6 and will not spawn at Low Rank.
- Rest at camp until a Full Moon appears in Windward Plains or Scarlet Forest. Fallow weather is more time-efficient (500 Guild Points per rest); Plenty weather takes longer between rests (3,500 Guild Points) for the same yield.
- Accept the optional quest “The Desert Knows Not the Sea” (Tempered Balahara, Windward Plains) from Alma. This locks in the full moon session.
- Fast-travel to Windward Plains Area 10, then Area 3. Each area has one Ephemeral Blossom node during a full moon — collect both for 2 Nightflower Pollen per run.
- End the quest via the menu. You do not need to complete the hunt. You keep the pollen.
- Repeat. Two pollen per 7-10 minutes on Fallow is a consistent benchmark.
- Trade pollen with Sekka in Suja at a 1:1 rate for Gold Melding Tickets.
- Spend Gold Melding Tickets at Vio on Ancient Orb — Armor pulls for maximum decoration depth.
Alternative pollen locations: Scarlet Forest Areas 14 and 18 follow the same rules if you prefer that map. Windward Plains is generally faster due to the shorter distance between areas.
Patch note: Since patch ver. 1.000.05.00, moon phases during quests are randomized rather than fixed. The method still works but requires waiting for a natural full moon rather than manipulating the phase through quest repetition. Pre-patch guides that describe guaranteed moon control no longer apply.
Tempered Investigations: What You Are Actually Getting
A persistent misconception in decoration guides is that Tempered Investigations are either the primary decoration farm or should be avoided entirely. Neither is correct. Tempered monster investigations drop both decorations and Artian Parts — the two drop types are not exclusive.
Higher-tier Tempered monsters produce better rewards across both categories. A Tempered Arkveld or Tempered Rey Dau investigation is a strong decoration source because it occupies the highest monster tier — the same investigation that drops Rarity 8 Artian Parts will also drop high-rarity decorations.
The right framing, by goal:
- Building Artian weapons: Run Tempered investigations. You get decorations as a side benefit.
- Targeting a specific decoration fast: Use the Nightflower Pollen pipeline. More pulls per hour, no combat required.
- General endgame progression: Tempered multi-monster investigations give Melding Points from excess deco drops while advancing other goals simultaneously.
The Decoration Recycling Loop
The Melding Pot accepts decorations as input. Any decoration you have in excess of your maximum-needed count can be melded back into Melding Points and re-spent on orb pulls.
Practical recycling rules:
- Keep until capped: Expert Jewels (until you have 7), Tenderizer Jewels (3), Critical Jewels (3), Attack Jewels (Level 7 filled).
- Recycle immediately: Any duplicate exceeding your cap; Leap Jewels and Climber Jewels; elemental decos with no matching weapon in your active roster.
- Hold short-term: Dual-skill [3] decos you might use in a future build — keep until you have settled on your endgame weapon set.
A skill with a max level of 3 has a ceiling. Once you have equipped Vitality Jewels totaling Lv3, every subsequent Vitality Jewel is pure recycling material. The system is self-correcting as long as you meld past-cap duplicates immediately.
By Player Type: Where to Focus
| Player Type | Priority Decorations | Best Farming Method | Time to Core Coverage |
|---|---|---|---|
| New player (sub-HR 40) | Vitality [1], Attack [1], Grinder [1] | Mystery and Glowing Orb melding; normal investigation drops | 2-5 hours post-Suja |
| Casual (HR 40-100) | Tenderizer [2], Critical [2], Expert [1] | Nightflower Pollen once per in-game full moon; Ancient Orb pulls | 4-8 hours for affinity core |
| Hardcore optimizer (HR 100+) | Dual-skill [3] set + full affinity + utility coverage | Ancient Orb loop + Tempered investigations for dual Artian/deco purpose | 20-40+ hours for full coverage |
| Completionist | All combo decos, every element, every weapon type | Full pipeline loop; event quest farming; all investigation types | 100+ hours |
If you are a casual player: getting Tenderizer Lv3 and Critical Boost Lv3 fully slotted is the biggest single damage upgrade available through decorations. Those two skills represent a larger effective damage gain than upgrading one tier of weapon quality. Prioritize them before worrying about Attack Boost optimization.
If you are a hardcore optimizer: the dual-skill [3] decoration library is where you recover the slot headroom needed to fit both offensive and defensive skill coverage simultaneously. Building around 2-3 dual-skill [3] decos is the current standard in maximum-efficiency endgame sets.
Frequently Asked Questions
What is the maximum decoration slot size in Monster Hunter Wilds?
Level 3. There are no size-4 slots in this game. The upper limit on any single slot is [3]. Older entries in the series had size-4 slots, which is the source of the confusion seen in some guides.
Do Tempered Investigations give better decorations than normal quests?
Yes, conditionally. Higher-tier Tempered monsters produce better decoration pools compared to standard High Rank quests. However, the Nightflower Pollen pipeline produces more pulls per hour when your specific goal is decoration farming. Tempered investigations are best run when you also need Artian Parts for weapon upgrades.
How do I get Gold Melding Tickets fast?
Farm Nightflower Pollen from Ephemeral Blossoms in Windward Plains (Areas 3 and 10) during full moons, then trade with Sekka in Suja at 1:1. Alternatively, Gawdygog in Scarlet Forest trades 30 Ancient Wyvern Coins for one ticket, though his inventory rotates daily.
Can I target a specific decoration, or is it all RNG?
It is RNG-based but narrowed by orb type. Ancient Orbs pull from the widest pool (Level 1-3), so they are the best general option. There is no direct crafting path to a specific named decoration — melding and investigation drops are both probabilistic. The Nightflower Pollen pipeline reduces time-to-coverage by maximizing total pulls per hour.
What should I do first after finishing the story?
In order: (1) complete the Chapter 5 Storm-Cold Vortex mission to unlock Glowing Orbs at Suja, (2) hit HR 40 to access Rarity 6 decos, (3) run the Nightflower Pollen route for Gold Melding Tickets, (4) spend on Ancient Orb — Armor pulls targeting Tenderizer and Critical Jewels first. Three Tenderizer Jewels and three Critical Jewels represent the fastest path from story completion to a build that holds up in endgame investigations.
Final Thought
The decoration system rewards consistent, methodical farming over random quest grinding. The Nightflower Pollen pipeline removes most of the variance from the equation at HR 40+ — not instant, but reliable. Start with Tenderizer and Critical Jewels, run the pollen route when full moons appear, and the rest of the system opens from there.
For broader build context, the Monster Hunter Wilds Beginner’s Guide covers weapon selection and early progression, while the Best Armor Sets guide shows which pieces offer the best decoration slot configurations at each stage.
Sources
- WildsBuilder — Complete Decoration Guide for Monster Hunter Wilds 2026
- Fextralife — Decorations Wiki, Monster Hunter Wilds
- Game8 — List of All Decorations, Monster Hunter Wilds
- Game8 — How to Farm Decorations, Monster Hunter Wilds
- Game8 — How to Use the Melding Pot, Monster Hunter Wilds
- Icy Veins — How to Get the Best Decorations in Monster Hunter Wilds
- The Backdash — Monster Hunter Wilds Decoration Farm and Melding Guide
- Game8 — How to Get and Use Nightflower Pollen, Monster Hunter Wilds
- Game8 — How to Get and Use Gold Melding Ticket, Monster Hunter Wilds
- RPG Site — Monster Hunter Wilds Endgame Explained

I've been playing video games for over 20 years, spanning everything from early PC titles to modern open-world games. I started Switchblade Gaming to publish the kind of accurate, well-researched guides I always wanted to find — built on primary sources, tested in-game, and kept up to date after patches. I currently focus on Minecraft and Pokémon GO.