

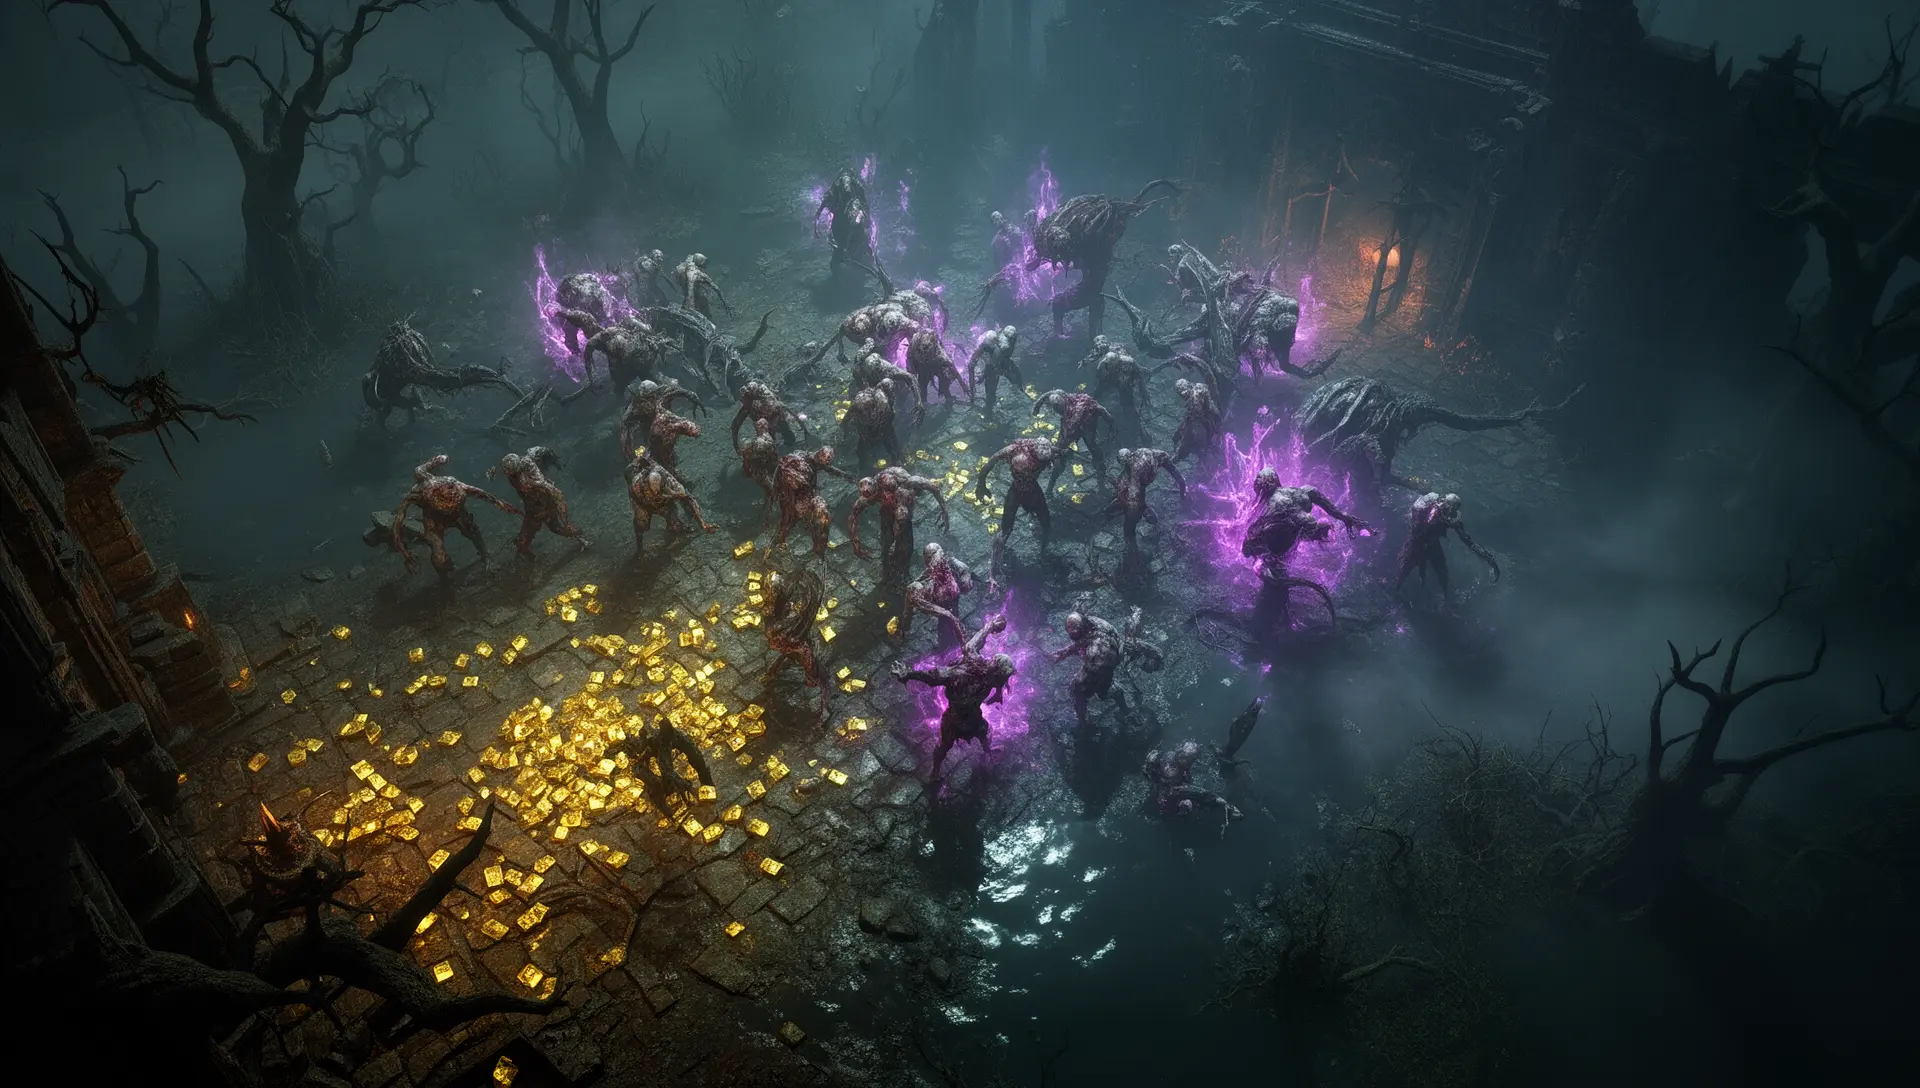
Most PoE2 players hit endgame mapping and spend the first 20 hours farming whatever drops. By the time they realize Lofty Summit takes twice as long as Sandspit for the same loot, they’ve wasted a week of playtime. Map choice is the highest-leverage decision in endgame — the right 3-map rotation, properly specced on the atlas, consistently outperforms a random spread even with inferior builds.
This guide ranks the current S- and A-tier farming maps through patch 0.5.2 (Return of the Ancients, June 2026) on three criteria: mob density, boss skippability, and mechanic compatibility with the dominant strategies — Breach, Abyss, Ritual, and Expedition. Values may change with future updates.
New to endgame mapping? Our PoE2 beginner’s guide covers how the atlas works, what waystones do, and how to reach T15 maps before you optimize which ones to run.
Quick Start: 7 Steps Before You Pick a Farming Map
- Unlock T15 maps first. The tier floor for efficient currency farming — lower tiers don’t generate enough rare-monster density to justify specialized atlas builds.
- Identify your mechanic. Breach, Abyss, Ritual, or Expedition. Your map choice feeds your mechanic, not the other way around.
- Pick 3 S-tier maps from this list that match your mechanic’s layout needs (see the Mechanic Compatibility section below).
- Stack 2–3 tablets per watchtower adjacent to your target maps — minimum 10 uses per tablet for meaningful returns.
- Juice waystones to 6+ modifiers before running. Unmodified maps return 40–60% less loot.
- Favourite your core 3 maps in the atlas to increase their drop rate and sustain your map pool.
- Commit to your rotation for at least 50 runs before evaluating returns — variance is high on shorter samples.
What Makes a Map Farmable: The 3-Criterion Framework
Most map tier lists rank on layout alone. The best farming maps score well on all three dimensions simultaneously.
Mob density is the primary driver of raw loot. Pack-dense maps return more currency, more splinters, and more crafting materials per run regardless of time-on-map. The distinction isn’t always obvious from layout images — Steppe looks open, but its diamond shape concentrates monster spawns in predictable clusters rather than scattering them across dead-end corridors.
Boss skippability is the variable most players ignore. In PoE2, you don’t need to kill the map boss to complete a run — waystones drop from regular monsters throughout the map, not exclusively from the boss. The question is whether the kill is worth the time cost. For S-tier maps, easy bosses mean the kill costs 15–30 seconds and is almost always worth it for biome drops. For maps with hard bosses requiring active dodging, skipping is the correct call when your build isn’t yet one-shotting them.
Mechanic compatibility determines whether your chosen farming strategy actually fires correctly. Breach needs open space — tight corridor maps funnel enemies poorly and reduce splinter return rates per domain. Ritual needs circular or linear layouts to accumulate tribute without missing encounter zones. Abyss works in almost any layout but returns the most monsters on linear maps where abyssal cracks travel their maximum distance.
S-Tier Maps: Best for Consistent Currency Farming
Verified against patch 0.5.2. Boss difficulty ratings reflect post-nerf values — several bosses received significant damage reductions in the 0.5.2 update.
| Map | Biome | Mob Density | Boss Difficulty | Best Mechanics | Skip Boss? |
|---|---|---|---|---|---|
| Burial Bog | Swamp | ★★★★★ | Very Easy | Abyss, Breach | No — 20s kill |
| Steppe | Varies | ★★★★☆ | Hard | Breach, Expedition | Yes (if under-geared) |
| Sandspit | Desert | ★★★★☆ | Easy | Speed clear, Delirium | No — 15s kill |
| Oasis | Desert | ★★★★☆ | Easy | Abyss, Ritual | No — 25s kill |
| Savannah | Grass | ★★★☆☆ | Very Easy | Ritual, General farming | No — 10s kill |
Burial Bog — Best All-Rounder
The S-tier consensus across every major community source. Burial Bog’s Swamp biome compact layout funnels 27 distinct enemy types through a circular main path with minimal dead ends — every second of clearing is productive, with no backtracking required to sweep the entire map.
The boss, Grudgelash the Vile Ent, has a fire weakness. Any build running fire damage kills him in roughly 20 seconds. Even without fire, his pure physical and fire damage output is manageable at mid-endgame gear levels — this boss never becomes a reason to skip the run.
Atlas angle: the Local Knowledge node in the Swamp branch of the atlas tree gives Burial Bog and other Swamp biome maps a 40% increased chance to drop basic currency. That single node meaningfully increases raw orb income from every run without requiring any other investment.
When NOT to run Burial Bog: If you’re specifically farming divination cards for a target item, check whether Burial Bog’s card pool contains your target. It doesn’t include most premium endgame card sets, so card-focused farmers should pivot to the map with the correct pool.
Steppe — Best for Breach Farming
Steppe’s diamond-shaped open layout is the rare case where a wide-open map is a feature, not a problem. Breach domains expand outward from the crack, and Steppe’s wide lanes give that expansion maximum room — generating larger wave counts and more Breach Splinter drops per encounter than the same tablet run on a corridor map.
The caveat: Steppe’s boss is genuinely hard. Community testing consistently ranks it in the challenging tier. Speed farmers and players running this early in league shouldn’t feel obligated to engage. Skip the boss, loop the map, and come back when your damage one-shots it.
When NOT to run Steppe: Ritual is a poor fit here. Tribute accumulation works best when encounter zones cluster naturally, not spread across an open diamond layout where you can walk past Ritual circles without triggering them in sequence.
Sandspit — Best for Speed Clearing
Two-way beach layout: clear up one side, back down the other, zero backtracking. In practice this means 90-second clear times for fast builds — the highest map-per-hour output in the S-tier regardless of per-map density. The boss is straightforward and dies fast.
The tradeoff: Sandspit’s mob density is lower than Burial Bog. Speed clearing earns returns through volume — 40 Sandspit runs in the time it takes to run 25 Burial Bogs comes out ahead for quick-clearing builds. Slower or tankier builds should stick to Burial Bog.
When NOT to run Sandspit: Abyss farming. The linear layout limits how far the abyssal crack travels and reduces the number of pit encounters per run compared to maps with more meandering paths.
Oasis — Best Balanced Option
Linear layout, minimal backtracking, and a forgiving boss make Oasis the cleanest general-purpose farming map when you’re not locked into a mechanic requiring a specific layout. Desert biome pairs well with Breach atlas investment — the rare monster effect nodes in the Desert branch also benefit Oasis runs.
For new endgame players who haven’t committed to a mechanic yet, Oasis is the correct default: no map knowledge pitfalls, no boss mechanics that require dodging, and decent density across the run.
Savannah — Best for Ritual Runners
Caedron, The Hyena Lord, has no resistances or weaknesses — that means any build kills him fast with zero optimization. This is the most gear-agnostic S-tier boss in the game right now. For Ritual farming, Savannah’s open Grass biome layout places encounter zones in positions where tribute accumulates efficiently without requiring you to loop back through the same area.
The Local Knowledge node for Grass biome adds a 40% increased chance to drop socket currency — a meaningful bonus for crafting-focused play where socket manipulation items have high trade value.
A-Tier Maps: Strong Alternatives Worth Running
Run these when S-tier waystones are scarce, when your build has better synergy with their layout, or when farming a specific mechanic that plays better here than on S-tier options.
| Map | Best For | Avoid If |
|---|---|---|
| Willow | AoE builds, consistent general farming | You need biome-specific atlas rewards |
| Spider Woods | AoE clearing, Breach | Under-geared — boss is harder than S-tier options |
| Wetlands | Raw item drops, SSF players | Speed clearing — layout is slower than S-tier |
| Creek | Speed clearing, Expedition | Mechanic stacking requiring high density |
Willow is frequently cited as the best map in the game by community testing — the A-tier ranking reflects that it doesn’t stack as cleanly with any dominant 0.5 biome passive as Burial Bog (Swamp/Local Knowledge) or Savannah (Grass/socket currency). If you’re not optimizing around biome nodes, Willow is effectively S-tier.
Wetlands earns its A-tier ranking through a unique encounter: two Devourer spawns generate double the loot from these creatures compared to single-Devourer maps. For SSF players or anyone prioritizing raw item volume over currency per hour, Wetlands outperforms several S-tier options on that specific metric.
Spider Woods has excellent AoE mob density with clear paths — ideal for builds that clear by blanketing a zone rather than targeting individual packs. The boss is harder than S-tier, but once you’re geared past mid-endgame, Spider Woods effectively becomes S-tier in practice.
Mechanic Compatibility: Which Maps to Pick Per Strategy
Commit to one mechanic per farming session. Focused sessions out-earn mixed ones significantly because tablets concentrate their output on a single mechanic rather than splitting across several. The decision tree below maps each major mechanic to its optimal map and setup.
If you’re farming Breach:
- Primary maps: Steppe, Oasis (open layouts give domains room to expand)
- Atlas: Desert biome passives, Monster Effects nodes
- Tablets: Target Irradiated modifiers for level 82+ ring drops; stack 2–3 per adjacent tower
- 0.5 note: Breach’s new crafting tree prints rare rings, amulets, and belts — currently the highest-value Breach return in the patch
If you’re farming Abyss:
- Primary maps: Burial Bog, Oasis (linear cracks travel furthest, maximizing pit encounters)
- Faction: Ulaman for consistent currency chests (casual-friendly); Amanamu for high-risk omen farming (gear-dependent)
- Top tablet modifiers: +1 Rogue Exile is the priority, Abyss pits twice-as-likely-to-reward second
- Run T15 maps with the “Powerful Map Boss” affix — this synergizes with Rogue Exile atlas bonuses for compounding returns
If you’re farming Ritual:
- Primary maps: Savannah, Oasis (encounter placement rewards circular tribute paths)
- Atlas: Mountain biome passives for pack size boosts and tribute cost reductions
- Stack Summoning Circles nodes; use the Astrolabe mechanic to chain multiple boss zones and accumulate T0 uniques alongside tribute
If you’re farming Expedition:
- Primary maps: Creek, Steppe (wide layouts give logbook routes more space to generate viable dig sites)
- 0.5.2 update: Ocean sections in Expedition Logbooks now guaranteed to contain at least one Grand Expedition per section — worth speccing into if Expedition is your main income
- Focus tablet quality on encounter size rather than encounter count
For the full waystone stacking order and how to juice maps before each session, see our endgame mapping guide.
Atlas Strategy: Biomes, Passives, and Waystone Stacking
The 0.5 rework replaced the old atlas tree with a 311-point system where every node is allocatable without respeccing. Rush the full tree first — fast players complete it in 3–6 hours. The Arbiter of Divinity shortcut (clearing requisite halls, defeating the boss) can grant 30–50 passives per cycle for accelerated progression during the first day of a new league or after major patches.
Biome selection matched to your target maps:
- Burial Bog (Swamp): Take Local Knowledge in the Swamp branch for 40% basic currency chance; secondary pick is Forest biome for up to 65% increased rare monsters across all maps.
- Steppe / Oasis / Sandspit (Desert or variable): Desert biome nodes add rare monster effects; pairs directly with Breach investment since Breach buffs and Desert buffs overlap on the same monster pool.
- Savannah (Grass): Grass biome socket currency upgrade (5% chance to upgrade currency to next tier) compounds meaningfully over high run counts — at 100 runs per session it’s generating noticeable crafting material uplift.
Watchtower cluster strategy: Position your core 3 maps within the influence radius of 2 overlapping towers. Stack 2–3 tablets per tower at 10+ uses minimum. Run T1 waystones through the towers first to activate all modifier stacks, then run T15–16 corrupted waystones on the maps themselves with all stacks active.
Key atlas nodes to take early:
- Constant Crossroads — increases map drop rate from monsters, directly sustaining your T15 pool
- Twin Threats — rare monsters drop additional items (flat income increase per run)
- Remnants of Power — buffs remnant modifiers, compounding with juice stacks
For full atlas tree progression including how to unlock Citadel maps and the Pinnacle boss sequence, see our Atlas Progression Guide.
Which Maps to Run for Your Playstyle
| If you are… | Prioritise | Core Maps | Avoid |
|---|---|---|---|
| Speed farmer | Clear time over density | Sandspit, Creek, Willow | Spider Woods (hard boss slows loop) |
| Mechanic runner | Layout that expands your mechanic | Steppe (Breach), Burial Bog (Abyss), Savannah (Ritual) | Corridor maps with any mechanic |
| SSF player | Raw item drops and boss loot | Wetlands, Burial Bog | Low-density B-tier maps — density gap is too costly for SSF |
| Casual / new mapper | Forgiving layout and easy bosses | Savannah, Oasis, Burial Bog | Steppe (hard boss frustrates early league) |
For the builds that farm most efficiently across these rotations, see our endgame boss guide — the build requirements for clearing pinnacle encounters on Breachstones and Ritual stacks are covered there in detail.
Maps to Avoid: C-Tier Breakdown
The pattern across every low-performing map is the same: the layout creates dead time rather than sustained monster contact.
- Lofty Summit — Extreme backtracking required. The summit loop sends you back to the entrance to clear side areas, costing 2–3 minutes per run compared to S-tier alternatives. Never favourite this map.
- Vaal Factory — Complex multi-level paths make it easy to miss large monster clusters. Clearing efficiency drops to roughly 60–70% of what a linear map achieves in the same time. Decent density but poor layout execution.
- Mineshaft — Hard boss with mechanics that require active dodging regardless of build. The map itself has acceptable density, but the boss time cost doesn’t justify the run at standard endgame gear levels.
- Channel — Maze layout with branching dead-ends. Any mechanic that needs space — Breach, Abyss — underperforms badly here compared to open alternatives. The layout isn’t difficult; it’s just wasteful.
Frequently Asked Questions
Do I need to kill the map boss every run?
No. Waystones drop from regular monsters throughout the map, not exclusively from the boss. Bosses provide biome currency, atlas key drops, and potential unique items — but skipping a hard boss is correct when the kill takes more than 60 seconds and you’re running mechanics rather than targeting boss-specific drops. Burial Bog’s boss dies so fast it’s never worth skipping. Steppe’s boss sometimes is, especially early in a league.
Does map tier affect how many Breach Splinters I get?
Yes, indirectly. Higher-tier maps contain higher-level monsters, which means Breach domains at T15 produce larger waves with more monsters per domain than the same mechanic at T12. The per-splinter value also scales with map tier because higher-level Breach encounters drop more splinters per wave closure. This is why the S-tier list focuses on T15-viable maps — farming Breach at T12 for speed doesn’t close the gap. For the Breachstone escalation sequence against Xesht, see our currency farming guide which covers when to run each difficulty tier.
Can I run different mechanics on the same map?
You can, but focused sessions out-earn mixed ones. When your atlas tree is split between mechanics, tablets split their output instead of compounding on a single strategy. Run Breach or Abyss in a session — not both. Pick your mechanic for the session, stack all tablets toward it, and run 30–50 maps before evaluating whether the returns justify continuing.
How often does the best map meta change?
Every major patch reshuffles the tier list. The 0.5.2 boss nerfs moved several previously hard-to-farm maps into viable territory — Steppe in particular became more accessible when several high-damage boss mechanics were toned down. Check patch notes after every numbered update (0.x.x) for map-specific changes before committing a new rotation.
Sources
- PoE 2 Map Tier List – Best Maps to Farm — AKRPG
- Path of Exile 2 Best Maps (Layout & Boss) — AOEAH
- PoE2 Patch 0.5.0 Biomes & Atlas Tree Strategy — POECurrency
- PoE2 0.5 Best Atlas Tree & Map Farming Strats — AOEAH
- PoE 2 Map Tier List – Best Endgame Maps — MTMMO
- Burial Bog Map Guide — Game8
- Savannah Map Guide — Game8
- Path of Exile 2 0.5.2 Patch Notes — Maxroll.gg
- PoE 2 Best Maps, Mapping Mechanics & Juice Strategy — MTMMO
- PoE 2 0.5 Abyss Farming Guide — AOEAH

I've been playing video games for over 20 years, spanning everything from early PC titles to modern open-world games. I started Switchblade Gaming to publish the kind of accurate, well-researched guides I always wanted to find — built on primary sources, tested in-game, and kept up to date after patches. I currently focus on Minecraft and Pokémon GO.