
All loadouts verified on Patch 6.1.0, April 2026. Item stats change with updates — verify specific values in-game before high-difficulty runs.
On Helldive difficulty, the gap between a generic loadout and an optimised one shows up as negative reinforcement count. Patch 6.1.0 (March 2026) reshuffled the meta in three ways: the GL-21 Grenade Launcher lost its heavy armor penetration, flamethrowers now panic enemies on contact, and the Laser Cannon’s beam extended to 1,000m range. This guide covers the solo anti-bot loadout that wins Helldive without squad coordination, plus the team meta for Automatons, Terminids, and Illuminate — all updated for the current patch. If you’re also reconfiguring stratagem inputs, the Helldivers 2 keybinds guide covers the layout that minimises input latency on objective moments.
The 4-Slot Rule: Build Any Loadout From First Principles
Every Helldive loadout fills four stratagem slots. Assign each slot a job before picking specific items:
- Slot 1 — Anti-heavy: one stratagem that reliably kills the biggest threat on the map (Bile Titan, Hulk, Harvester). If this slot underperforms, the mission bleeds reinforcements.
- Slot 2 — Crowd clear: area damage for swarms between objectives. This slot handles 70–80% of total kills across a mission.
- Slot 3 — Utility or sentry: passive suppression, area denial, or objective tools that work while you’re doing something else.
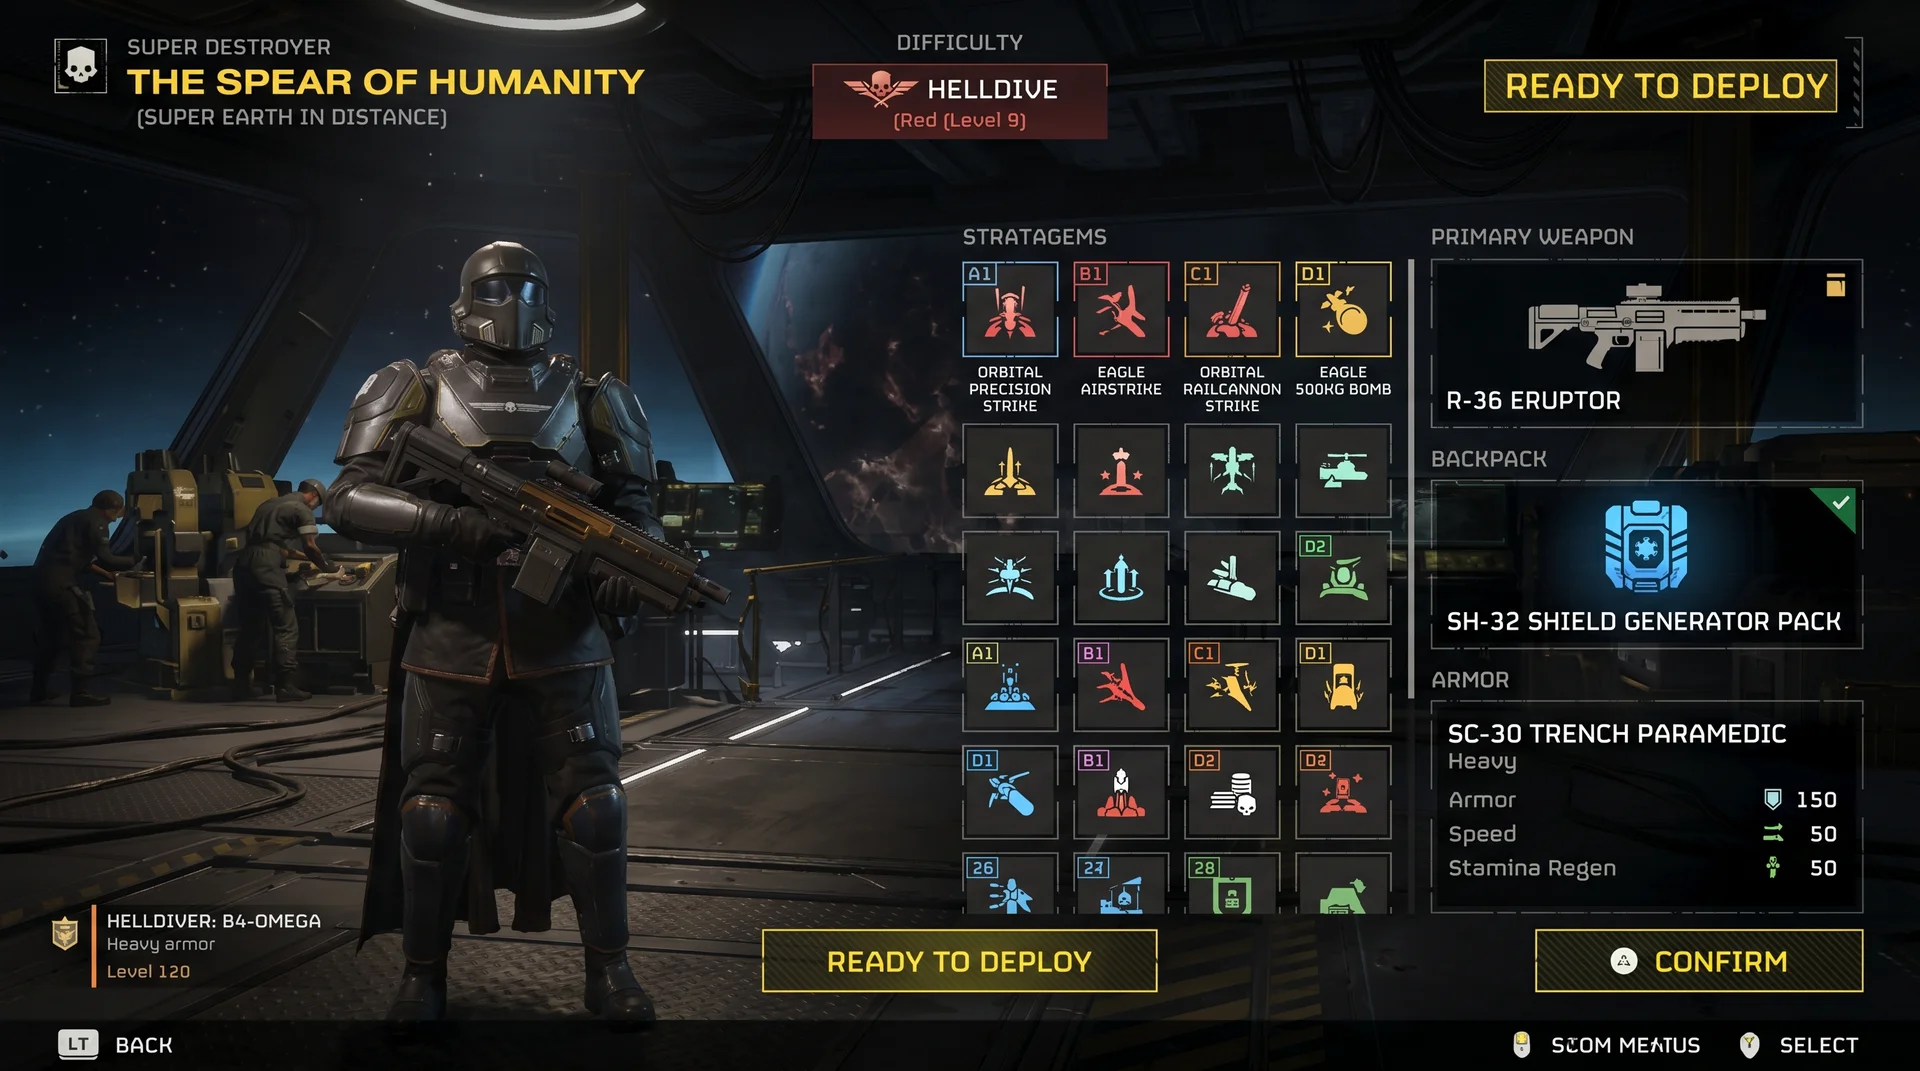
- Slot 4 — Backpack: defines survivability mode. Shield Generator Pack for solo, Supply Pack for squad logistics, Jump Pack for Commando missions.
- Helldivers 2 Enemy Weaknesses 2026: Faction Weak Points, Kill Order and Counters
Every build below follows this structure. Swapping one slot changes the entire loadout’s role — random substitutions create gaps that opponents exploit without warning.
Best Anti-Automaton Loadout
Bots punish exposure. Deaths on the bot front come from standing in the open — Devastators and Cannon Turrets track with precision at long range, and a single Factory Strider can delete a defended position in under 10 seconds. This loadout keeps you behind cover while covering every Automaton threat tier.
Solo on Helldive
| Slot | Item | Why it works |
|---|---|---|
| Primary | PLAS-101 Purifier | Charged shots penetrate Heavy Devastator chest armor at 200m; uncharged shots handle Troopers without burning the charge on light targets |
| Secondary | P-4 Senator | Six rounds that penetrate Scout Strider side panels; no reload panic when the Purifier chamber is cycling |
| Grenade | G-123 Thermite | Sticks to Hulk vents; 100% kill rate without needing the weak-point eye shot, which misses at medium range under fire |
| Support | Recoilless Rifle | One-shots Hulks on weak point; eliminates Cannon Turrets before they lock down the approach |
| Backpack | Shield Generator Pack | Absorbs the first Devastator volley that kills most solo players caught repositioning |
| Stratagem 1 | Orbital Laser | Auto-tracks Tanks passively after activation; fires without requiring you to stop and aim in a firefight |
| Stratagem 2 | Eagle 500kg Bomb | Destroys Command Bunkers and handles Factory Striders at Helldive spawn density |
When NOT to use this build: Stealth or Sabotage missions where Eagle call-ins trigger patrol investigations. Replace Eagle 500kg with Orbital Precision Strike — single detonation, smaller patrol-aggro radius.
The Purifier’s charged shot is why this build wins solo. Most players default to the R-36 Eruptor on bots, but the Eruptor requires line-of-sight to the target. The Purifier charges behind cover and fires on exposure — the energy projectile travels fast enough that Devastators rarely dodge it at medium range. Pair this with the Recoilless Rifle for Hulks and the Shield Pack absorbing the opening volley, and you cover the full Automaton threat list without a squadmate to peel heavies away.
4-Player Automaton Squad Meta
Drop the Shield Generator Pack and run the B-1 Supply Pack. In a squad of four, resource depletion is the binding constraint on long missions, not individual survivability — the Supply Pack resupplies the full team during a 90-second engagement without anyone dropping out of the fight to hunt ammo boxes.
After Patch 6.1.0, the GL-28 Belt-Fed Grenade Launcher (buffed to 120 rounds) fills a distinct squad-support role: medium armor penetration against Devastator groups at volume, freeing the Recoilless Rifle user for Hulks and Tanks only. The GL-21 was reverted to medium pen in the same patch — these two weapons now cover the same role. Don’t run both on the same player; it wastes a stratagem slot that should be going to anti-heavy or crowd clear.
Best Anti-Terminid Loadout
Bugs kill through numbers. On Helldive Terminid missions, the threat pattern is: a breach spawns 8–12 medium threats simultaneously, with a Charger arriving 3 seconds later. Your primary weapon needs to suppress the medium threats long enough to redirect attention to the Charger — and your stratagems need to handle the next breach before the cooldown from the first one expires.
Solo on Helldive
| Slot | Item | Why it works |
|---|---|---|
| Primary | ARC-12 Blitzer | Chains electricity through 4–6 Hunters on a single trigger pull; infinite ammo; no reload window during breach suppression |
| Secondary | GP-31 Grenade Pistol | Closes bug holes at 20m without spending a stratagem slot — critical when cooldowns are the binding constraint solo |
| Grenade | G-123 Thermite | Sticks to Charger bodies; kills in 6–8 seconds, removing the need for a dedicated anti-tank stratagem slot |
| Support | LAS-99 Quasar Cannon | Headshots Bile Titans; one-shots Chargers to the leg; 15-second recharge means you’re never fully out of anti-tank capability |
| Backpack | B-1 Supply Pack | Autonomous resupply compensates for Quasar overuse across long missions with secondary objectives |
| Stratagem 1 | Eagle Napalm Strike | Placed on breach point: consistently kills 8–12 medium-tier enemies on contact per call |
| Stratagem 2 | Orbital Gas Strike | Stacks with fire damage for Bile Titan attrition; provides crowd clear when Napalm is on cooldown |
When NOT to use this build: Heavy Stalker missions. The Blitzer’s arc targets the nearest enemy — it can miss Stalkers that grab a teammate. Switch to SG-225IE Breaker Incendiary on missions with flagged Stalker presence; the burst fire pattern is more reliable at 2–4m contact range.
The key insight separating this from standard bug loadouts: Thermite grenades remove the need for a dedicated anti-tank stratagem slot, which frees Slot 2 for a second crowd-clear option. Solo Helldive bug runs fail by exhausting crowd-clear capacity during extended breach sequences — not because a Charger survived. Two crowd-clear stratagems plus Thermite addresses both failure modes simultaneously.
4-Player Terminid Squad Meta
Swap the Supply Pack for the AX/AR-23 Guard Dog Rover. In a 4-player squad, one dedicated resupply player covers the team; the Rover’s autonomous 360-degree fire eliminates Hunters without requiring your attention, letting you focus on Bile Titans during engagements.
Assign one squad member the FLAM-40 Flamethrower. Post-Patch 6.1.0, bugs physically panic when set on fire — Chargers break charge paths, Brood Commanders interrupt nearby bug formations, Hunters scatter. The panic behavior stacks with the Napalm Strike’s fire damage and creates crowd control at no additional stratagem cost to the squad.
Best Anti-Illuminate Loadout
The Illuminate present three problems absent from the other factions: Obelisk towers that lock down landing zones, Overseer shields that absorb non-explosive damage, and Harvesters regenerating shields during targeting pauses. The full threat breakdown is in the Illuminate enemy guide; this section covers loadout responses to those mechanics.
| Slot | Item | Faction-specific role |
|---|---|---|
| Primary | R-36 Eruptor | Jet-assisted explosive shells break Overseer energy shields before detonation; clears Voteless clusters in the same impact |
| Secondary | GP-20 Ultimatum | Single-shot demolition for Obelisk internals when the Orbital Laser is on cooldown and you can’t wait |
| Grenade | G-16 Impact | Instant detonation disrupts the Harvester targeting loop — Harvesters pause tracking during grenade animations; Impact interrupts faster than fused grenades |
| Backpack | SH-32 Shield Generator Pack | Blocks Overseer sniper beams; without this, a single Overseer takes 40% health from behind cover through sequential shield-break hits |
| Stratagem 1 | Orbital Laser | Non-negotiable: the only stratagem that kills Obelisk towers consistently at full range without exposing the player |
| Stratagem 2 | Machine Gun Sentry | Handles Voteless swarms autonomously while you address Overseers and Harvesters simultaneously |
| Stratagem 3 | Eagle 500kg Bomb | Finishes Harvesters in Phase 2 shield lock when the Orbital Laser is unavailable |
This build works for both solo and squad play. The main squad adjustment: swap the Machine Gun Sentry for the StA-X3 W.A.S.P. Launcher, which breaks Harvester shields faster than the sentry in coordinated 4-player engagements. The April 2026 Warbond guide covers how the Bastion Exosuit changes this matchup — its mounted weapons bypass Overseer shields entirely, removing the primary reason to run the Shield Generator Pack in squad play.
Mission-Type Adjustments
The faction builds above are tuned for standard Operations. Three mission types require specific changes:
Eradicate (Kill quota): Replace all utility and sentry stratagems with offensive call-ins. You’re racing to 100% kills — Orbital Laser, 380mm HE Barrage, and Eagle Airstrike maximise kill density per minute. Cooldown sequencing matters more than survivability here; light armor with the Servo-Assisted passive increases throw range on Thermite and Impact grenades, which compounds when you’re cycling call-ins every 30 seconds.
Evacuate High-Value Assets (Defense): Swap the Recoilless Rifle for EAT-17 Expendable Anti-Tank. The EAT’s 70-second cooldown versus the Recoilless’s manual reload means two separate anti-tank calls during a single Charger or Hulk wave. MD-6 Anti-Personnel Mines belong on the evacuation approach lane; any player not running mines should avoid the marked zone entirely to prevent detonating their teammates’ mines.
Commando Missions: Limited stratagems, no orbital support, restricted reinforcements. Run SC-30 Trailblazer Scout armor and UAV Recon Booster instead of Vitality Enhancement — detection range reduction prevents patrol cascades that deplete the reinforcement budget faster than enemy contact does. Focus primary objectives only; each secondary objective attempt in Commando adds patrol density that compounds exponentially.
Player Type Reference
| Player Type | Anti-Bot | Anti-Bug | Anti-Illuminate |
|---|---|---|---|
| New (Level 1–15) | Liberator Penetrator + Eagle Airstrike | SG-225 Breaker + Eagle Cluster Bomb | PLAS-1 Scorcher + Orbital Precision Strike |
| Casual (Level 15–25) | Purifier + Recoilless + Shield Pack | Blitzer + Quasar Cannon + Supply Pack | Eruptor + Orbital Laser + Shield Pack |
| Hardcore / Helldive | Purifier + Recoilless + Orbital Laser + 500kg | Blitzer + Thermite + Napalm + Gas Strike | Eruptor + W.A.S.P. + Orbital Laser + 500kg |
| Commando / stealth | SC-30 Trailblazer + Purifier, no sentries | SC-30 Trailblazer + Blitzer, limited stratagems | SC-30 Trailblazer + Eruptor, no sentries |
What Changed in Patch 6.1.0 (March 2026)
Three changes directly affect which loadouts are correct right now:
GL-21 reverted to medium armor penetration. Arrowhead noted they “pulled the trigger too quickly” on the heavy armor upgrade. The GL-21 now handles Devastator groups at volume; the GL-28 Belt-Fed covers sustained crowd control with 120 rounds post-buff. These are now distinct squad roles that used to overlap. Running both on one player wastes a slot that should be anti-heavy or second crowd-clear.
LAS-98 Laser Cannon extended to 1,000m range. This transforms it from a close-range support option into a viable sniper-class stratagem on the bot front. It handles Scout Striders at full patrol range without triggering adjacent groups. It doesn’t replace the Orbital Laser for Obelisk or heavy work, but it fills the distance gap between primary weapon range and orbital call-in range — a gap that previously had no answer.
Flamethrowers now cause enemy panic behavior. Bugs and squids scatter and attack randomly when set on fire. Chargers break charge paths, Hunters scatter, Brood Commanders interrupt nearby formations. The FLAM-40 and Cremator now provide crowd control that genuinely didn’t exist before 6.1.0. If your last flamethrower run was before March, it’s a different weapon now — the Charger panic behavior alone changes how squads need to position on Terminid Helldive missions.
FAQ
What’s the best loadout without newer Warbonds?
The free-track arsenal handles all Helldive content. Liberator Penetrator (primary), Recoilless Rifle (support), Orbital Laser, and Shield Generator Pack cover all three factions without any Warbond purchase. Add Eagle Airstrike for crowd clear. Every item in this combination is available through base progression.
Do primary weapons matter as much as stratagems?
Stratagems account for roughly 60–70% of total kills on Helldive. Your primary keeps you alive between cooldowns. Two correctly slotted stratagems consistently outperform the best primary weapon paired with wrong stratagem choices — which is why the 4-Slot Rule assigns slot roles before item selection.
Is the Orbital Laser worth a slot on every mission?
Against bots and Illuminate, yes. Both factions have heavies requiring sustained or high-single-shot damage, and the Orbital Laser handles them automatically after activation without aiming. Against Terminids on missions without dense heavy spawns, the Orbital Gas Strike provides more total value per cooldown through area kills on medium threats. The Laser’s auto-track is most valuable when you can’t stop and aim — which describes most Automaton and Illuminate Helldive engagements.
Sources
- u.gg — Helldivers 2 Builds: Best HD2 Loadouts, Stratagems, Weapons
- u.gg — Helldivers 2 Automaton Builds
- Skycoach.gg — Best Helldivers 2 Loadouts, Meta Builds (Feb 2026)
- Game Rant — Helldivers 2: Best Terminid Loadouts (Feb 2026)
- Game Rant — Helldivers 2 March 2026 Update and Patch 6.1.0 Notes
- FandomWire — Helldivers 2 Patch 6.1.0: All Weapon & Stratagem Changes
- FandomWire — How to Play Helldivers 2 Solo: Best Solo Loadouts

I've been playing video games for over 20 years, spanning everything from early PC titles to modern open-world games. I started Switchblade Gaming to publish the kind of accurate, well-researched guides I always wanted to find — built on primary sources, tested in-game, and kept up to date after patches. I currently focus on Minecraft and Pokémon GO.