
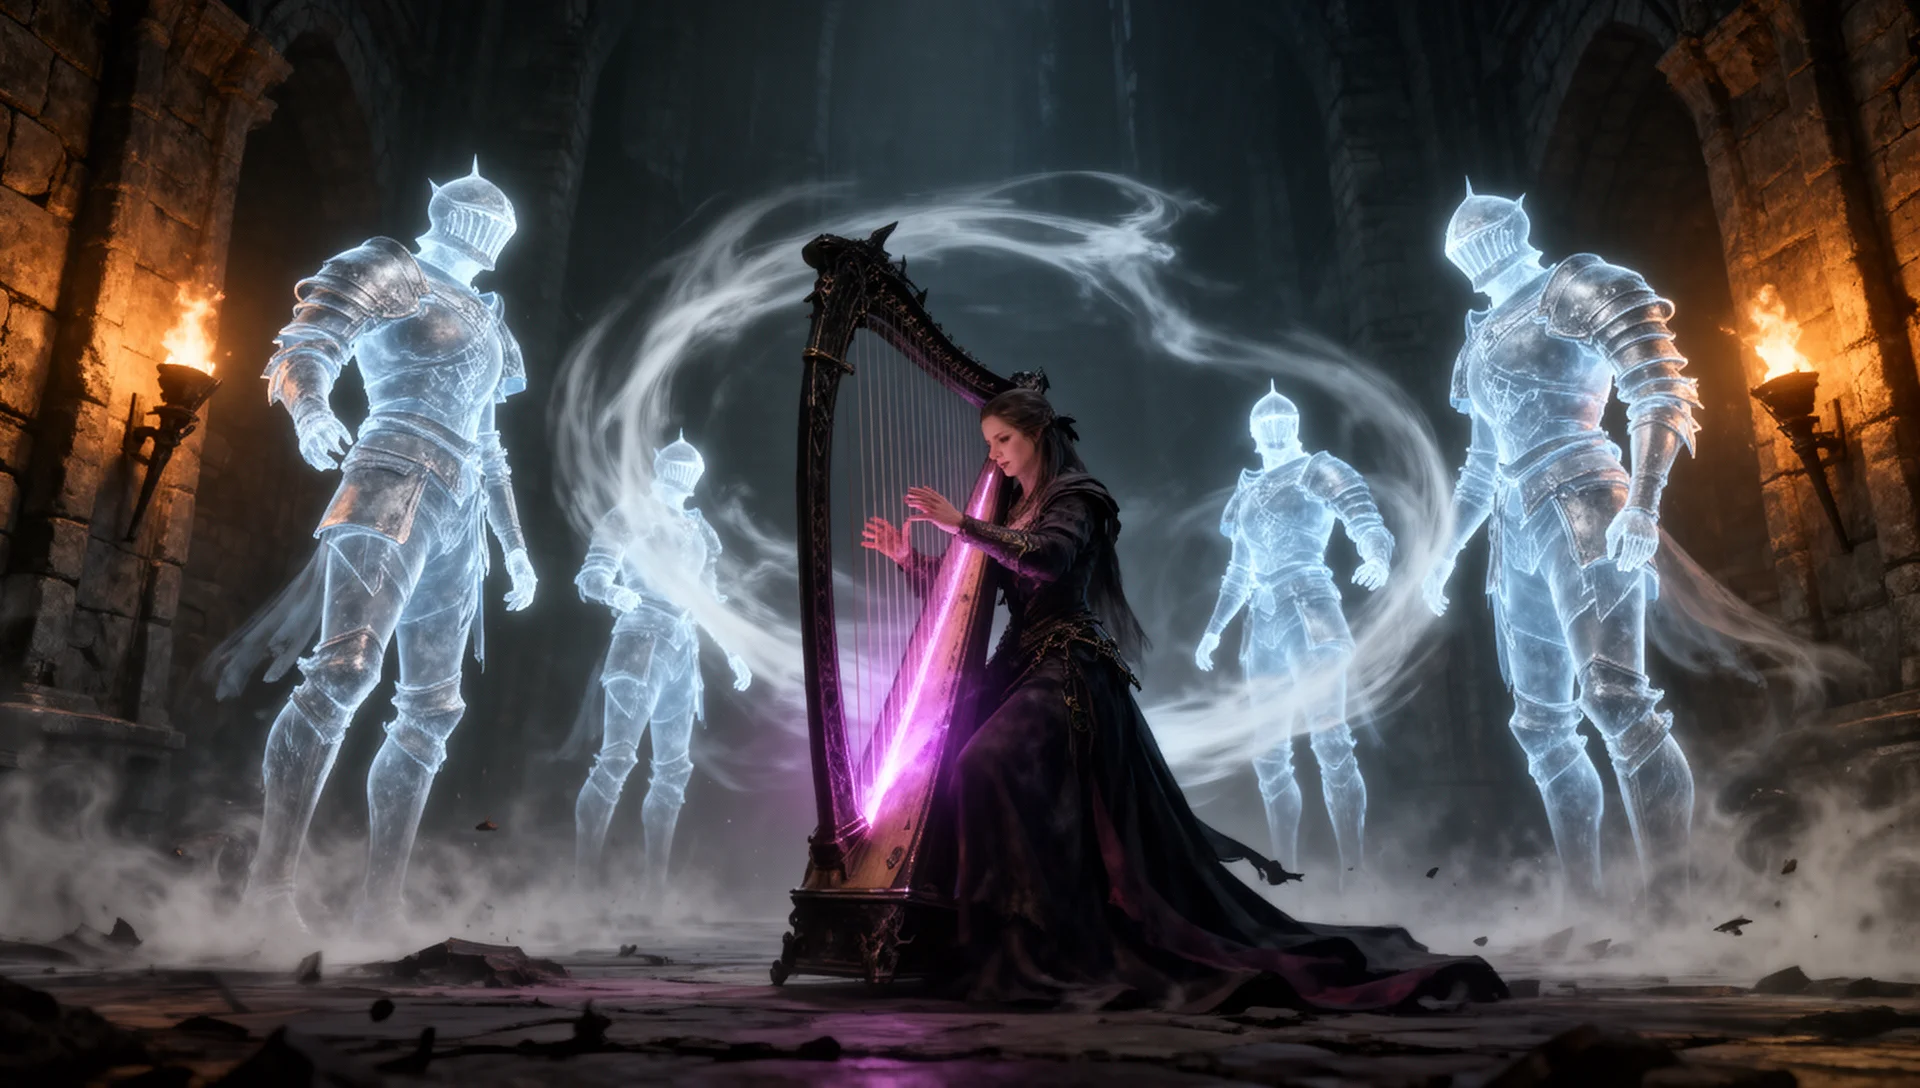
Revenant gets labeled a support character and then dismissed. The reality is more specific: Revenant is a preparation character. The 60-second phantoms she builds over two Days of an expedition can decide a Night 2 boss fight before it starts — or accomplish nothing if she spent those Days killing Godrick Foot Soldiers. The mechanic works. The proc rate is low enough that most players write it off as unreliable, when what it actually requires is targeting the right enemies in the right zones.
This guide covers what no current Revenant breakdown does: which enemy types produce the strongest phantoms, what those phantoms do in combat, and the day-by-day zone sequence that stacks S-tier reanimates before every boss encounter. For stat scaling, ability overview, and relic builds, see the Revenant character guide.
Quick Start: 7 Steps Before Your First Revenant Expedition
- Select Faith-scaling incantations before entering Limveld — Lightning Spear and Black Flame are the most reliable openers.
- Open the expedition map immediately after landing and mark any castle or evergaol icons.
- Clear the nearest Demi-Human camp first — fast reanimates, low risk, and they build your opening army at no cost.
- Secure the killing blow yourself, or let a family summon finish enemies — either triggers Necromancy.
- Beeline to castles or main encampments on Night 1 for Banished Knight reanimates.
- Clear pre-boss enemy waves within 90 seconds of entering the boss zone so your phantoms are still active during the fight.
- Switch to Frederick and hold Immortal March until he’s about to go down — his special attacks activate on Immortal March and deal the highest burst damage of the three spirits, buffed further in Patch 1.03.2.
How Necromancy Actually Works
Revenant’s Necromancy passive is one of Nightreign’s most misunderstood mechanics. The rules that matter:
- Killing blow required — the final hit must come from Revenant or an active family summon. A co-op teammate’s killing blow produces no reanimate regardless of how much Revenant damaged the enemy. Per the Nightreign wiki, even participation in the kill isn’t enough — the final hit is the only trigger.
- Proc rate — Necromancy does not trigger on every kill. Community-observed rates suggest roughly one reanimate per seven solo kills, improving to approximately one in three or four when a family summon deals the killing blow. These are player-observed averages, not an officially published value.
- Duration — each phantom persists for approximately 60 seconds and cannot regenerate health.
- No upper limit — there is no cap on simultaneous active phantoms. Per Bandai Namco’s official advanced tips, Necromancy places no ceiling on the number of allies you can maintain at once.
- Nightlords are immune — Necromancy does not trigger against any Nightlord or Night Boss. Pre-fight adds are fair game; the Nightlord itself is not.
- Immortal March pause — Necromancy does not proc while Immortal March is active.
Phantoms follow Revenant and only attack whatever she is currently targeting. This is critical: they offer no crowd-control value if she is locked onto a single stationary boss. They hit hardest when she moves between grouped enemies and lets reanimates sweep into clusters behind her.
Revenant Summons, Ranked by Enemy Type
No current Revenant guide ranks phantom quality by enemy type — they list compatible enemies and stop there. What actually determines value is what the phantom does once it’s fighting for you, which depends entirely on the base enemy’s attack patterns and health pool. Both carry over directly to the reanimated version.
| Tier | Enemy Type | Why It’s Valuable When Reanimated | Best Location |
|---|---|---|---|
| S | Banished Knight — polearm | Wide 180-degree sweep combos hit multiple enemies per swing; high health pool; mobile | Castles, Evergaols |
| S | Demi-Human Chief | Mini-boss health pool; leaping slam with three-body-length range; resists stagger from normal enemies | Demi-Human camps (Night 1) |
| A | Banished Knight — sword/shield | Sustained melee DPS; shield-guard behavior extends phantom survival beyond raw health | Castles, Main Encampments |
| A | Pumpkin Head (greathammer) | 360-degree AoE hammer slam staggers groups of enemies; mirrors Frederick’s combat style | Scattered across Limveld |
| A | Redmane Knight | Lance charges with good reach; consistent aggro magnet in grouped encounters | Main Encampments |
| B | Kaiden Mercenary | Curved greatsword arc attacks; moderate survivability | Ruins |
| B | Fire Monk | Fire-imbued strikes; reasonable health pool | Ruins, forts |
| C | Demi-Human (regular) | Individually fragile; value comes from pack size — six kills at the ~14% solo proc rate gives one or two reanimates | Starting camps, ruins |
| C | Godrick Foot Soldier | Low health, minimal damage contribution; last resort only | Spread throughout Limveld |
Tier ranking based on observed enemy attack behavior and base health in Nightreign. Phantom attack sets mirror the living version. No Necromancy changes in Patch 1.03.2 — all values current as of that version.
What Reanimated Enemies Do in Combat
The phantom inherits the enemy’s full attack set. Knowing what each type contributes changes which enemies are worth spending time to last-hit.

Banished Knight — Polearm (S-Tier)
This is the best reanimation target for group content. The polearm phantom performs its two-to-three hit horizontal sweep combo, hitting everything in a 180-degree cone. In any tight space — a castle corridor, a courtyard, a boss approach — a single polearm phantom becomes a rotating barrier that smaller enemies consistently walk into. The recovery between attacks is long, but the phantom cycles straight back into the next swing without the positioning penalty a real player would face.
Demi-Human Chief (S-Tier)
Chiefs carry over their leaping slam, which covers approximately three body-lengths per jump. That range makes the Chief phantom the most effective reanimate against mobile or scattered enemies, where a slower polearm phantom would lose the target entirely. Chiefs also resist being staggered by most regular enemy hits, so they stay in the fight longer than their mid-size appearance suggests. The Night 1 Demi-Human camp is the fastest source of an S-tier phantom before the shrinking circle forces movement.
Pumpkin Head — Greathammer (A-Tier)
The greathammer phantom does exactly what Frederick does: overhead slam with an impact explosion on landing that staggers any normal-sized enemy that doesn’t roll clear. Use them against clustered mid-size enemies and pre-boss add waves. The attack arc goes vertical, which means it loses effectiveness against fast, small targets — regular Demi-Humans that move beneath the swing take no hit. Best matchup is packed groups with limited room to spread.
Banished Knight — Sword and Shield (A-Tier)
The shield behavior carries over to the phantom. Sword-and-shield knights adopt a guard stance between attacks, passively reducing incoming hits and extending their effective lifespan well past what their health pool alone would allow. Damage output is lower than the polearm variant because the attack animations are shorter and more conservative. Use this type when you need a durable frontline distraction rather than raw AoE output.
Regular Demi-Humans (C-Tier — Volume Play Only)
These phantoms contribute almost nothing individually. Their value is arithmetic: clear a camp of eight Demi-Humans and at the observed ~14% solo proc rate, you get one or two reanimates. Two Demi-Human phantoms still draw aggro briefly and break lock-on cycles during tight windows. Consider them distraction noise — worth farming only when the camp is directly on your path and higher-value targets have already been cleared.
Attack pattern behavior based on observed Nightreign enemy AI. Reanimated phantoms follow the same attack sequence as the living version. Inference disclosure: phantom behavior was observed across community playtesting — individual runs may vary based on target positioning and proc timing.
Which Spirit to Pair With Your Reanimate Army
Necromancy phantoms and family summons coexist, so Revenant always runs a mixed force. Spirit choice should complement the reanimates you’re building around:
- Running polearm Banished Knight reanimates? Bring Helen. Your phantoms handle group sweeping. Helen’s rapier combo distracts the boss or elite target while the polearm army handles the surrounding mob layer.
- About to trigger Immortal March? Switch to Frederick first. His special attack fires when Immortal March activates and deals the highest burst of the three spirits. His 360-degree AoE hammer sweep also clears nearby adds, converting them to more phantoms in the same motion. For relic choices that amplify Frederick’s output, see the Relic System guide.
- Fighting a stationary or slow-moving boss? Deploy Sebastian near the boss entry point before the fight begins. His overhead slams and black-stream ultimate briefly stagger even heavy boss enemies, opening a cast window no other spirit provides consistently. Sebastian cannot reposition once placed.
- Night 3 Nightlord? Necromancy is unavailable. Your force is Helen, Frederick, and Sebastian only. Hold Immortal March for the moment Frederick is near death so his buffed special fires. For a full Nightlord encounter breakdown, see the Nightlord boss guide.
The Farming Loop: Day-by-Day Zone Priority
The loop below is optimized for stacking A-tier and S-tier reanimates before each Night boss encounter. Run it in order and the sequence handles itself.
Night 1 Priority Sequence
- Read the seed map immediately. Mark any castle icon — castles appear in roughly one-third of Limveld seeds per the Nightreign locations list and guarantee Banished Knight spawns.
- Nearest Demi-Human camp. Three to four minutes, generates C-tier reanimates with occasional Chief opportunities. Confirms your proc rate for the run before committing to harder targets.
- Evergaol, if your party can clear it. Enemies inside — Crucible Knights, Godskin Apostles, Bloodhound Knights — reanimate with full elite attack sets. These are the strongest non-Nightlord phantoms available. Solo Revenant players should skip them; three-player squads should prioritize evergaols on Night 1 above any other location.
- Castle or Main Encampment. Guaranteed Banished Knight spawns. Focus polearm variants first, then sword-and-shield.
Night 2 Priority Sequence
- Main Encampment — Redmane Knights and additional Banished Knights spawn reliably here.
- Pre-boss wave timing. Clear the enemy wave immediately before the Night 2 boss entry. This is where the loop pays off: reanimates last 60 seconds. Clear the adds, reanimate what procs, then enter the boss zone within 45 seconds. Your army carries through the entry point.
- Mob-heavy Night 2 bosses. Tibia Mariner and Freja spawn additional adds during their fights, which also trigger Necromancy. Clear their adds as they spawn, keep reanimates active, and save Frederick for the final phase.
Night 3 (Nightlord)
Necromancy does not proc against Nightlords. Pre-Nightlord adds may trigger reanimates, but the 60-second timer rarely survives the entry transition intact. Treat Night 3 as a pure family-summon fight. For expedition structure and what to prepare before Night 3, the Elden Ring Nightreign Beginner’s Guide covers the full expedition format. Hold Immortal March for when Frederick is near death so his buffed special attack fires at maximum power.
Player Type Quick Reference
| Player Type | Priority | Skip |
|---|---|---|
| New Player | Demi-Human camp first, then follow your team to castles. Use Frederick — his AoE clears groups and converts kills to phantoms simultaneously. | Solo evergaol attempts. The proc rate reward does not justify the wipe risk when learning the class. |
| Casual | Castle → Main Encampment sequence. Pre-boss wave clearing for last-minute phantom stacking. | Manually tracking proc rates — just play and the system handles itself. |
| Hardcore / Optimiser | Evergaol → Castle → Encampment. Track kills vs reanimates per run. Enter the boss zone within 45 seconds of the last kill. | All C-tier enemies except in packs of six or more (chain-reanimate value only). |
| Completionist | Test every listed enemy type; document which seed types produce castles; track evergaol positions per seed variant. | Nothing — document everything. |
FAQ
Can co-op teammates trigger Necromancy?
No. The final hit must come from Revenant or her active family summon. A co-op teammate’s killing blow produces no reanimate regardless of how much Revenant damaged the enemy beforehand. In co-op, coordinate who closes out kills — or keep a summon active and let it land the finishing blow.
Do reanimates survive Night phase transitions?
No. Phantoms despawn at the end of each Night phase. They cannot carry from Night 1 to Night 2 or beyond. The pre-boss timing sequence in the farming loop exists specifically because reanimates only count for the encounter they’re farmed immediately before.
Is evergaol farming worth the risk solo?
No. Evergaol enemies produce the strongest non-Nightlord reanimates in the game, but solo Revenant players, who start with 200 base HP and no melee depth, should not attempt them alone. Three-player teams comfortable with Crucible Knights or Godskin Apostles should prioritize evergaols as the top Night 1 target.
Did Patch 1.03.2 change Necromancy?
No. Patch 1.03.2 buffed family spirit attack power in Immortal March and in Deep of Night mode, and fixed a bug where spirits were staggered by Guardian’s defensive area. Necromancy mechanics were unchanged. All values in this guide are current as of version 1.03.2.
Key Takeaways
Necromancy rewards deliberate target selection, not volume farming. Polearm Banished Knights and Demi-Human Chiefs produce the strongest phantoms because their AoE sweep attacks carry forward into the reanimate, delivering maximum value per second of the 60-second timer. The Night 1 and Night 2 loop — Demi-Human camp, evergaol with a capable team, castle, pre-boss wave — consistently stacks A-tier and S-tier reanimates before every boss encounter. For Night 3, drop Necromancy and run Frederick into Immortal March. For Revenant’s full ability breakdown and all Nightfarer comparisons, see the Nightfarer character guide.
Sources
- Fextralife Nightreign Wiki — Revenant
- Fextralife Nightreign Wiki — Necromancy
- Fextralife Nightreign Wiki — Limveld Locations
- Bandai Namco — Advanced Tips for Elden Ring Nightreign
- Fextralife — Nightreign Revenant Guide: How to Play and Master the Revenant Class

I've been playing video games for over 20 years, spanning everything from early PC titles to modern open-world games. I started Switchblade Gaming to publish the kind of accurate, well-researched guides I always wanted to find — built on primary sources, tested in-game, and kept up to date after patches. I currently focus on Minecraft and Pokémon GO.